Policy Generator
The Policy Generator helps you create Privacy Policies based on your selected compliance framework.
Generate a policy
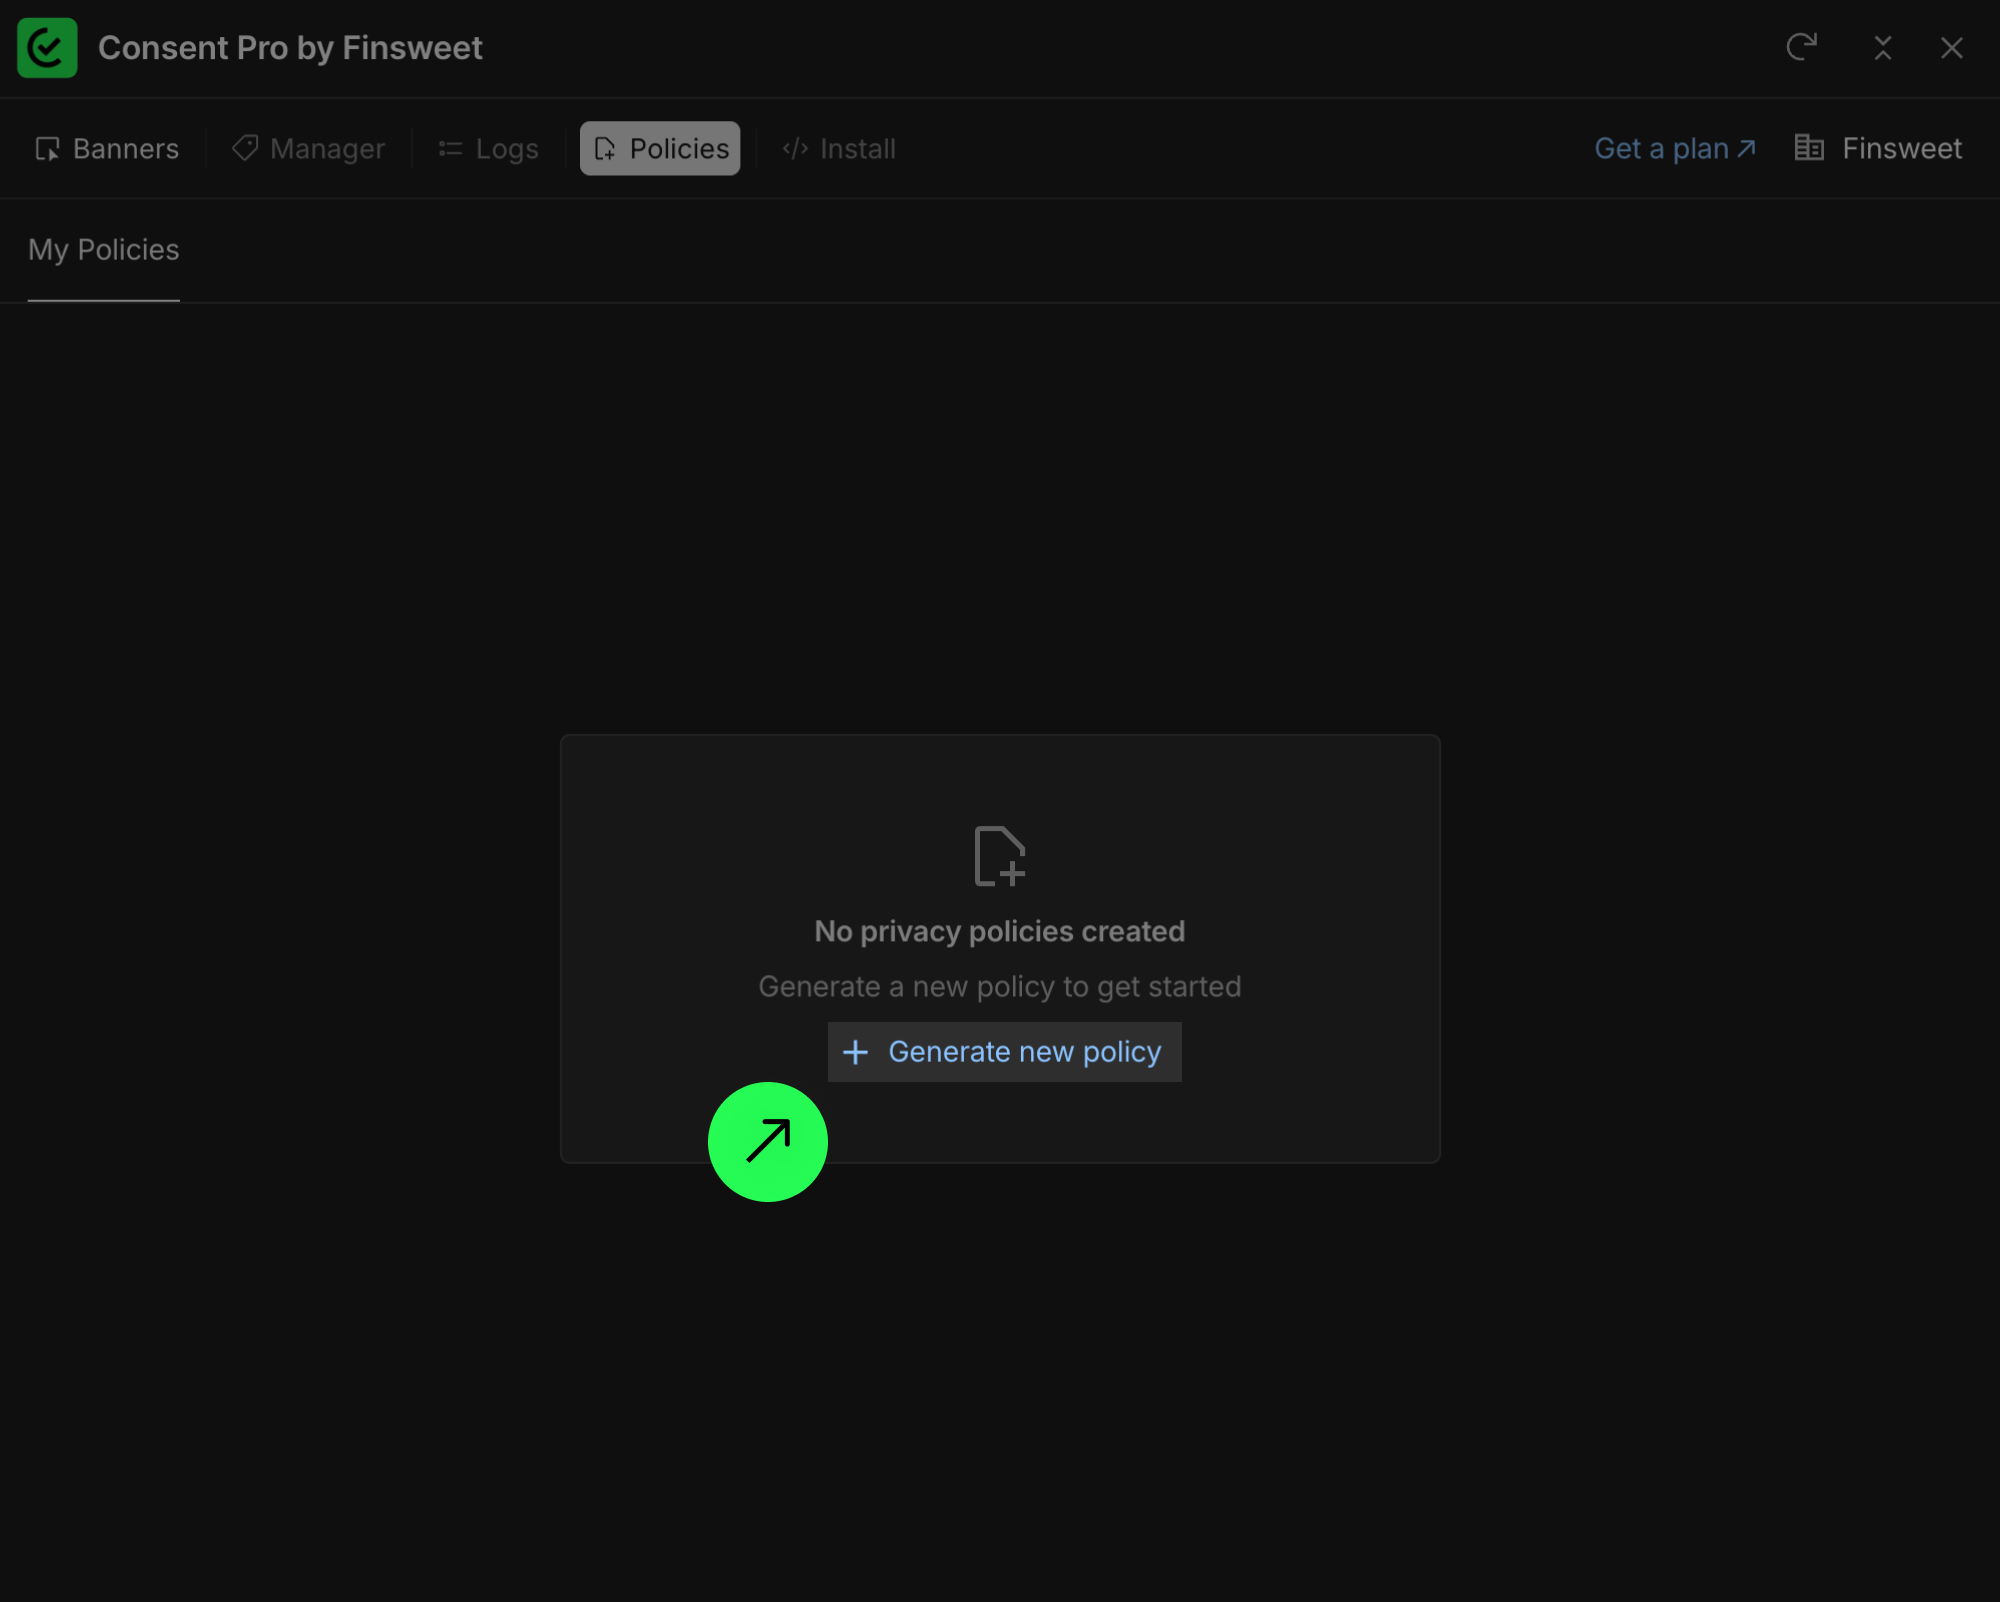
To generate a policy:
- Select the framework.
- Add your company information.
- Review recommended policies.
- Generate the policy.
- Preview and confirm the document.
- Publish your project in Webflow.
1) Select a framework
When you open the Policy Generator, the first step is selecting your compliance framework.
Consent Pro currently supports:
- GDPR
- CCPA
- US State Laws
- General Policies (for businesses that do not fall under specific legislation)
For this example, we will use CCPA. 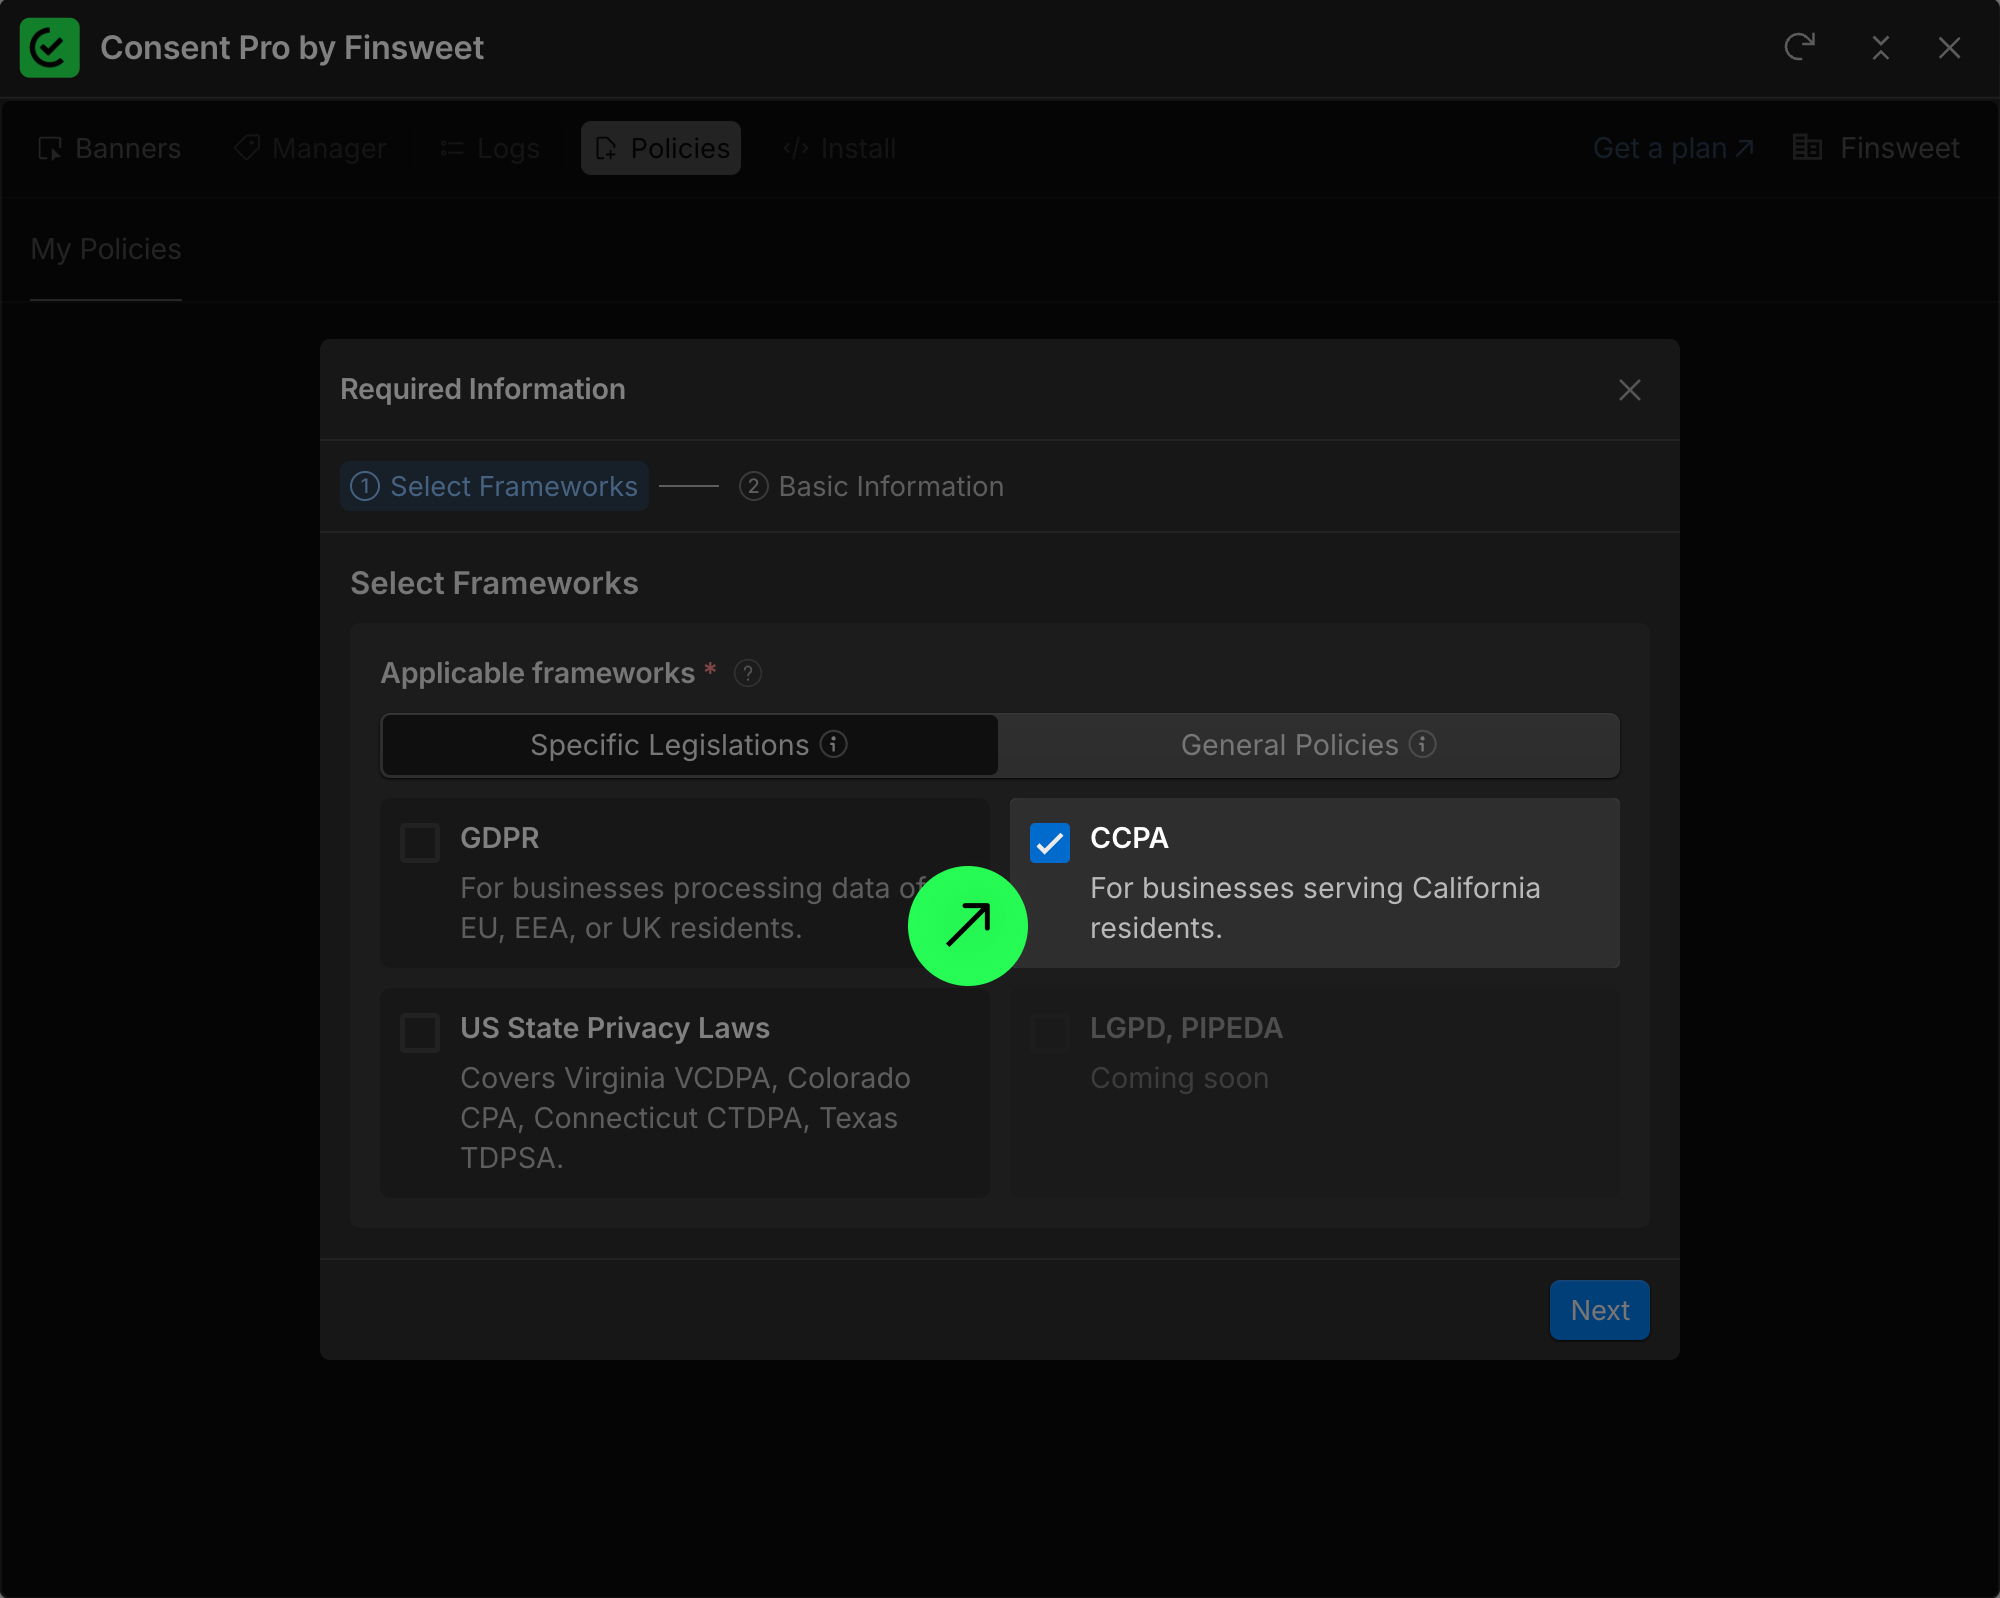
2) Add company information
Next, fill in your basic company information. 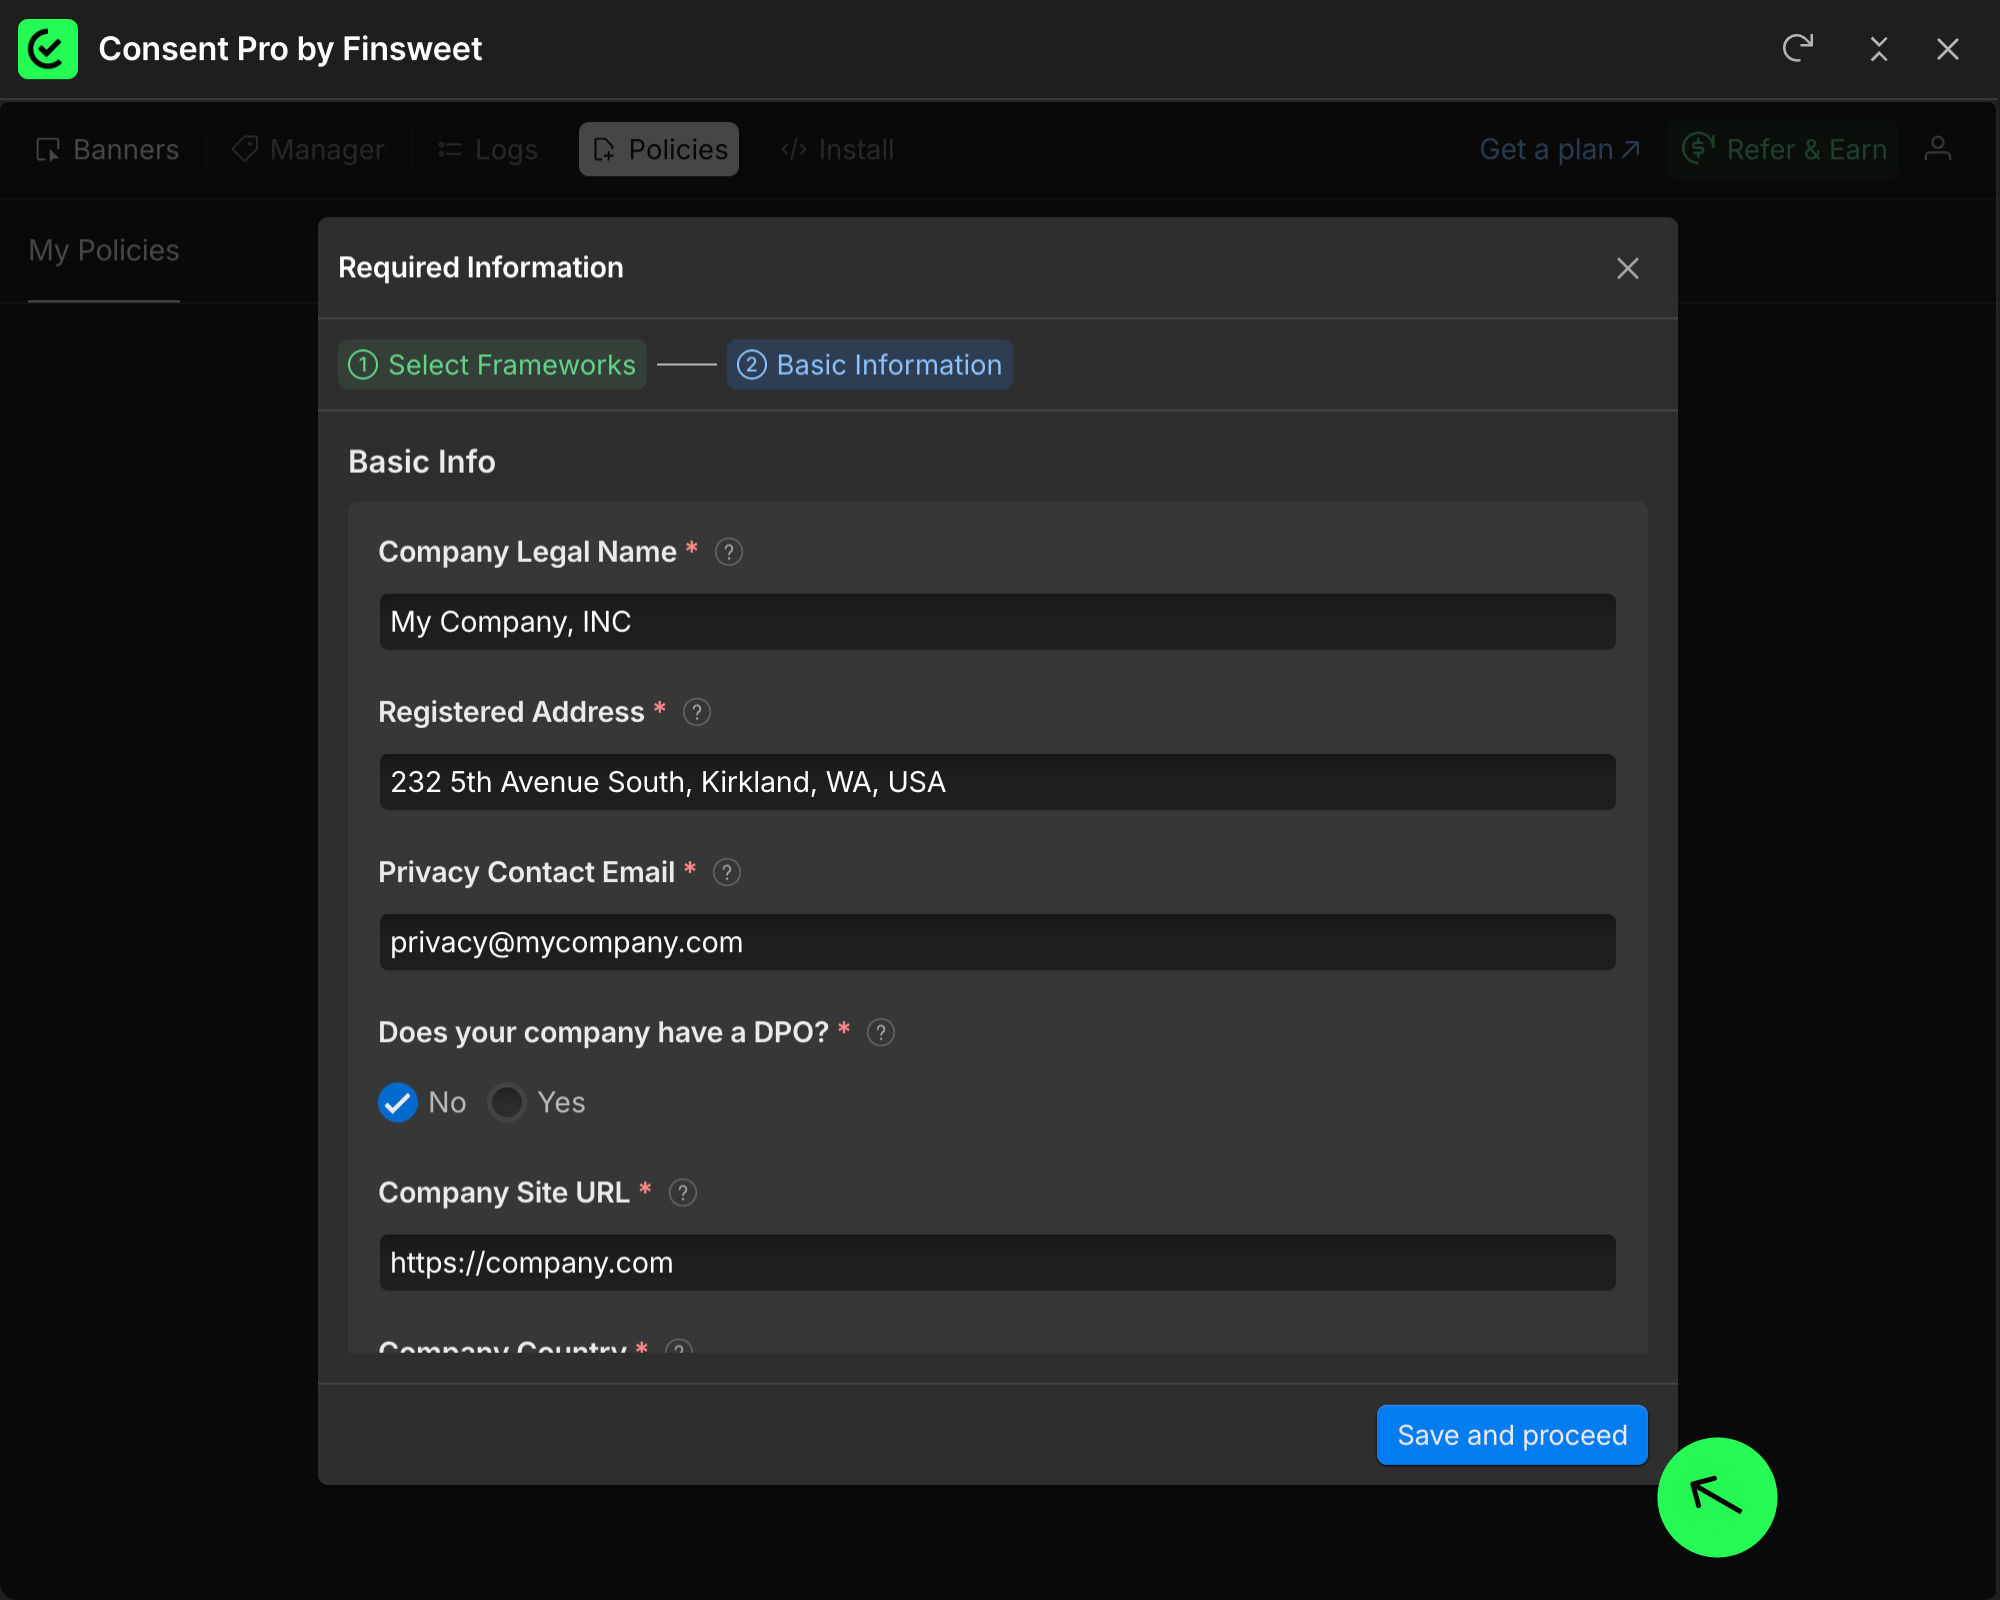
This information is saved and reused across all your policies. You can edit it at any time.
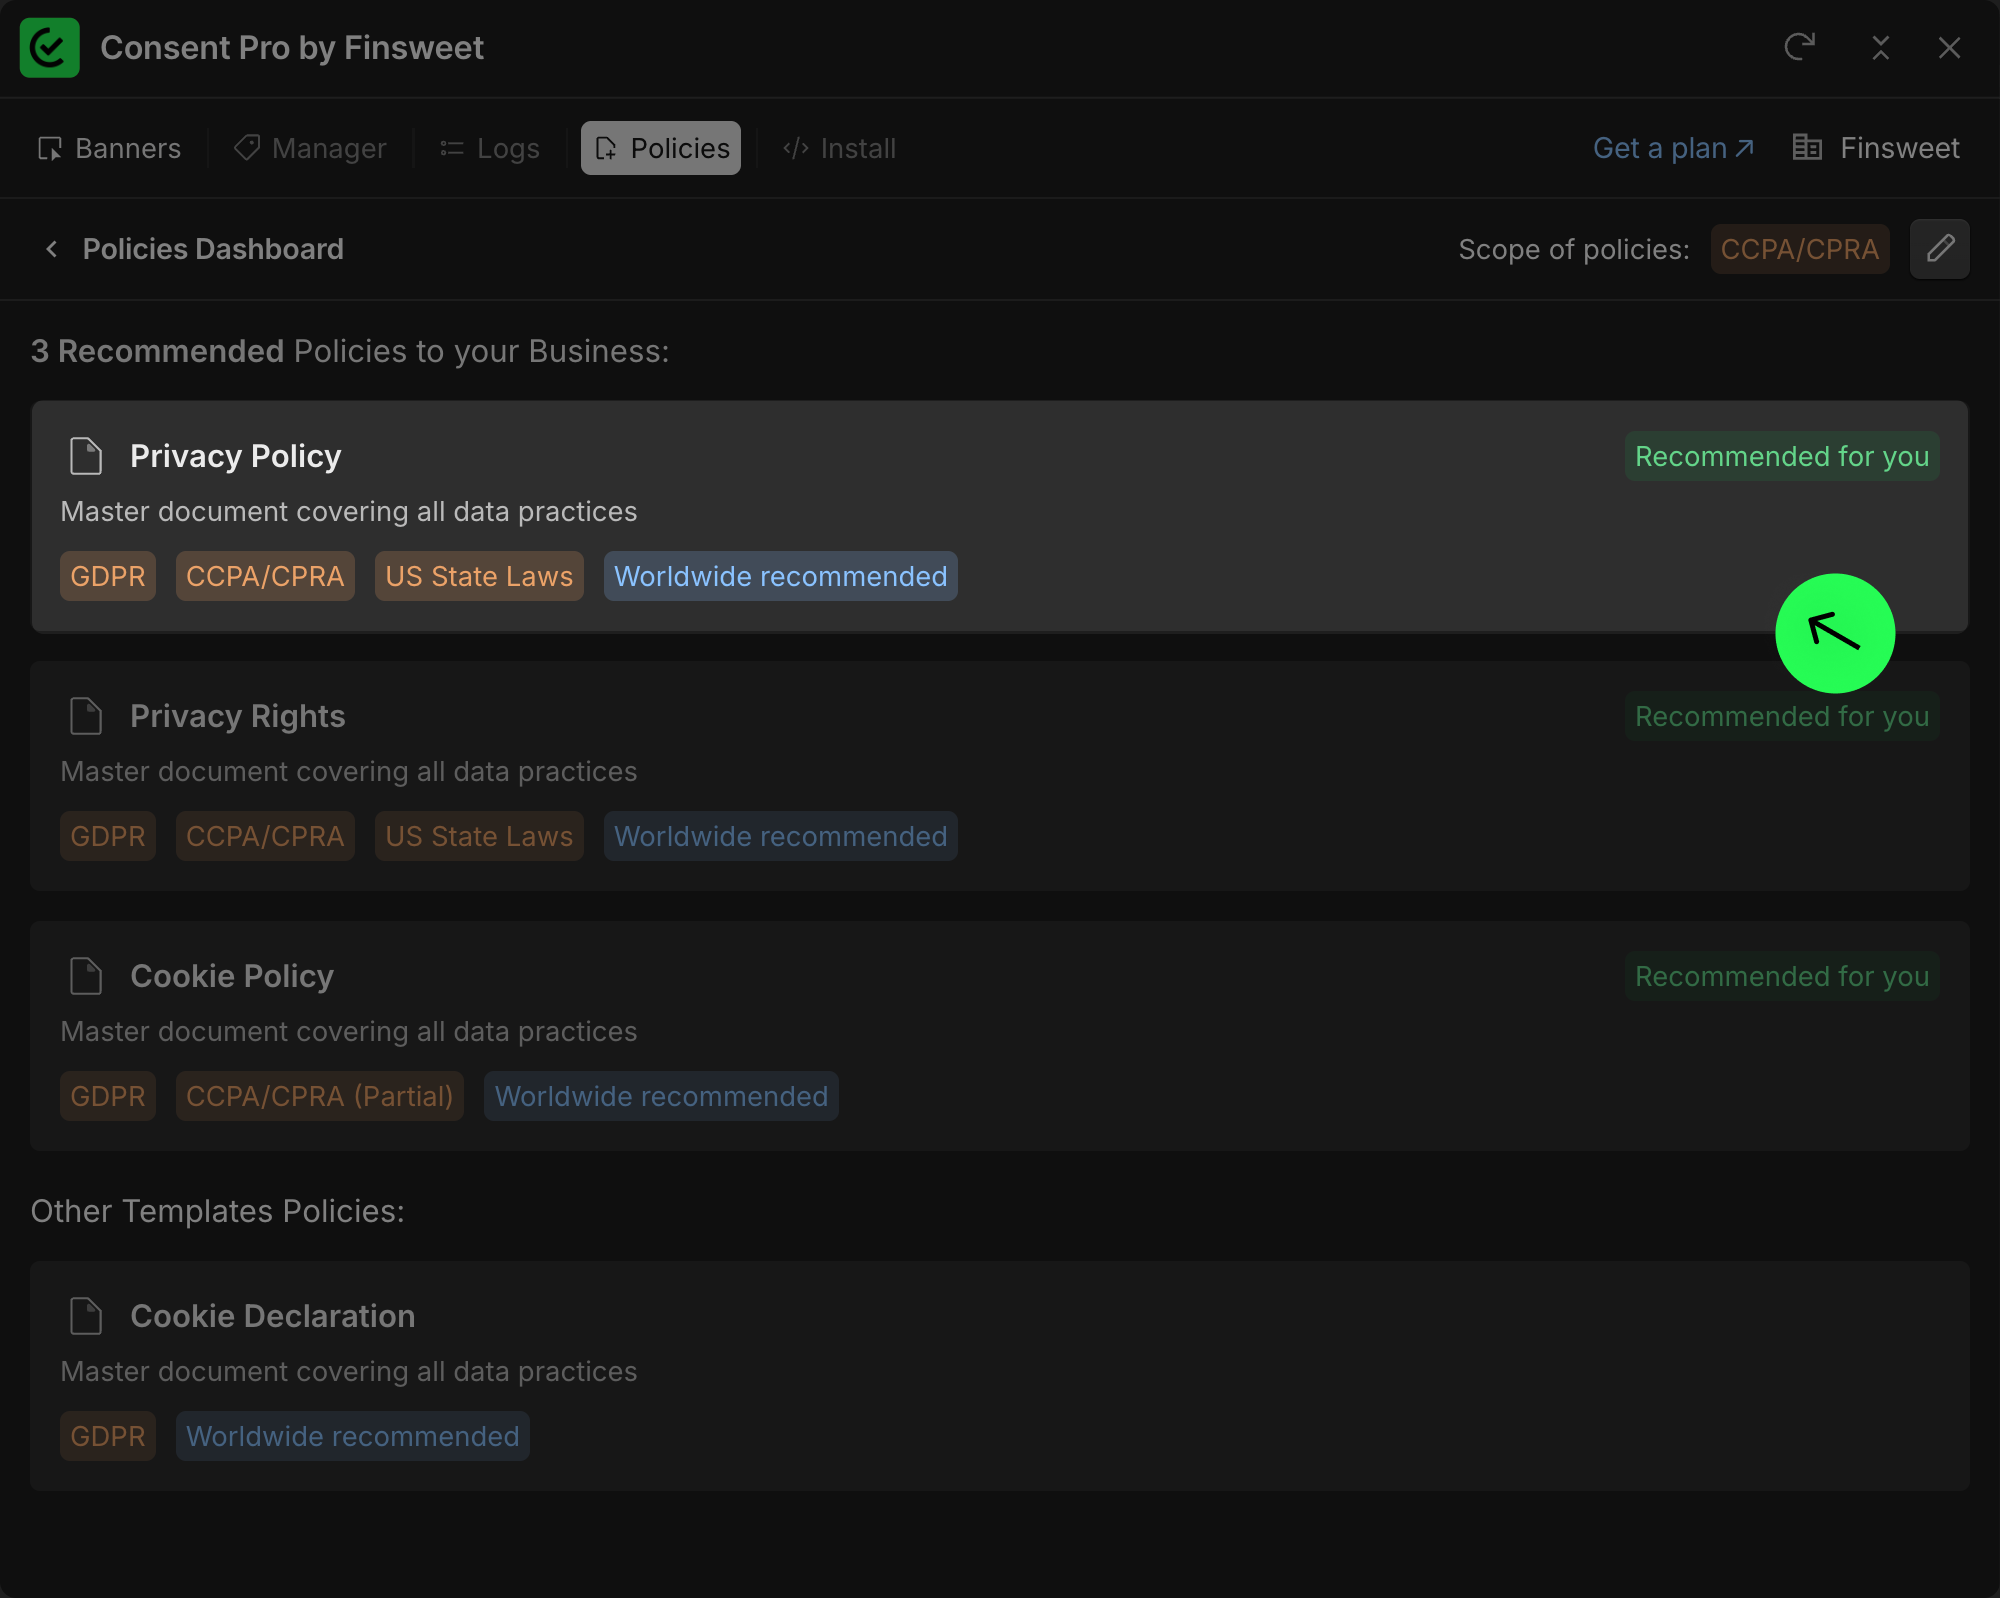
3) Review recommended policies
Once your company information is saved, Consent Pro analyzes your selected framework and recommends the documents your business needs.
For CCPA, this may include:
- Privacy Policy
- Cookie Policy
- Privacy Rights
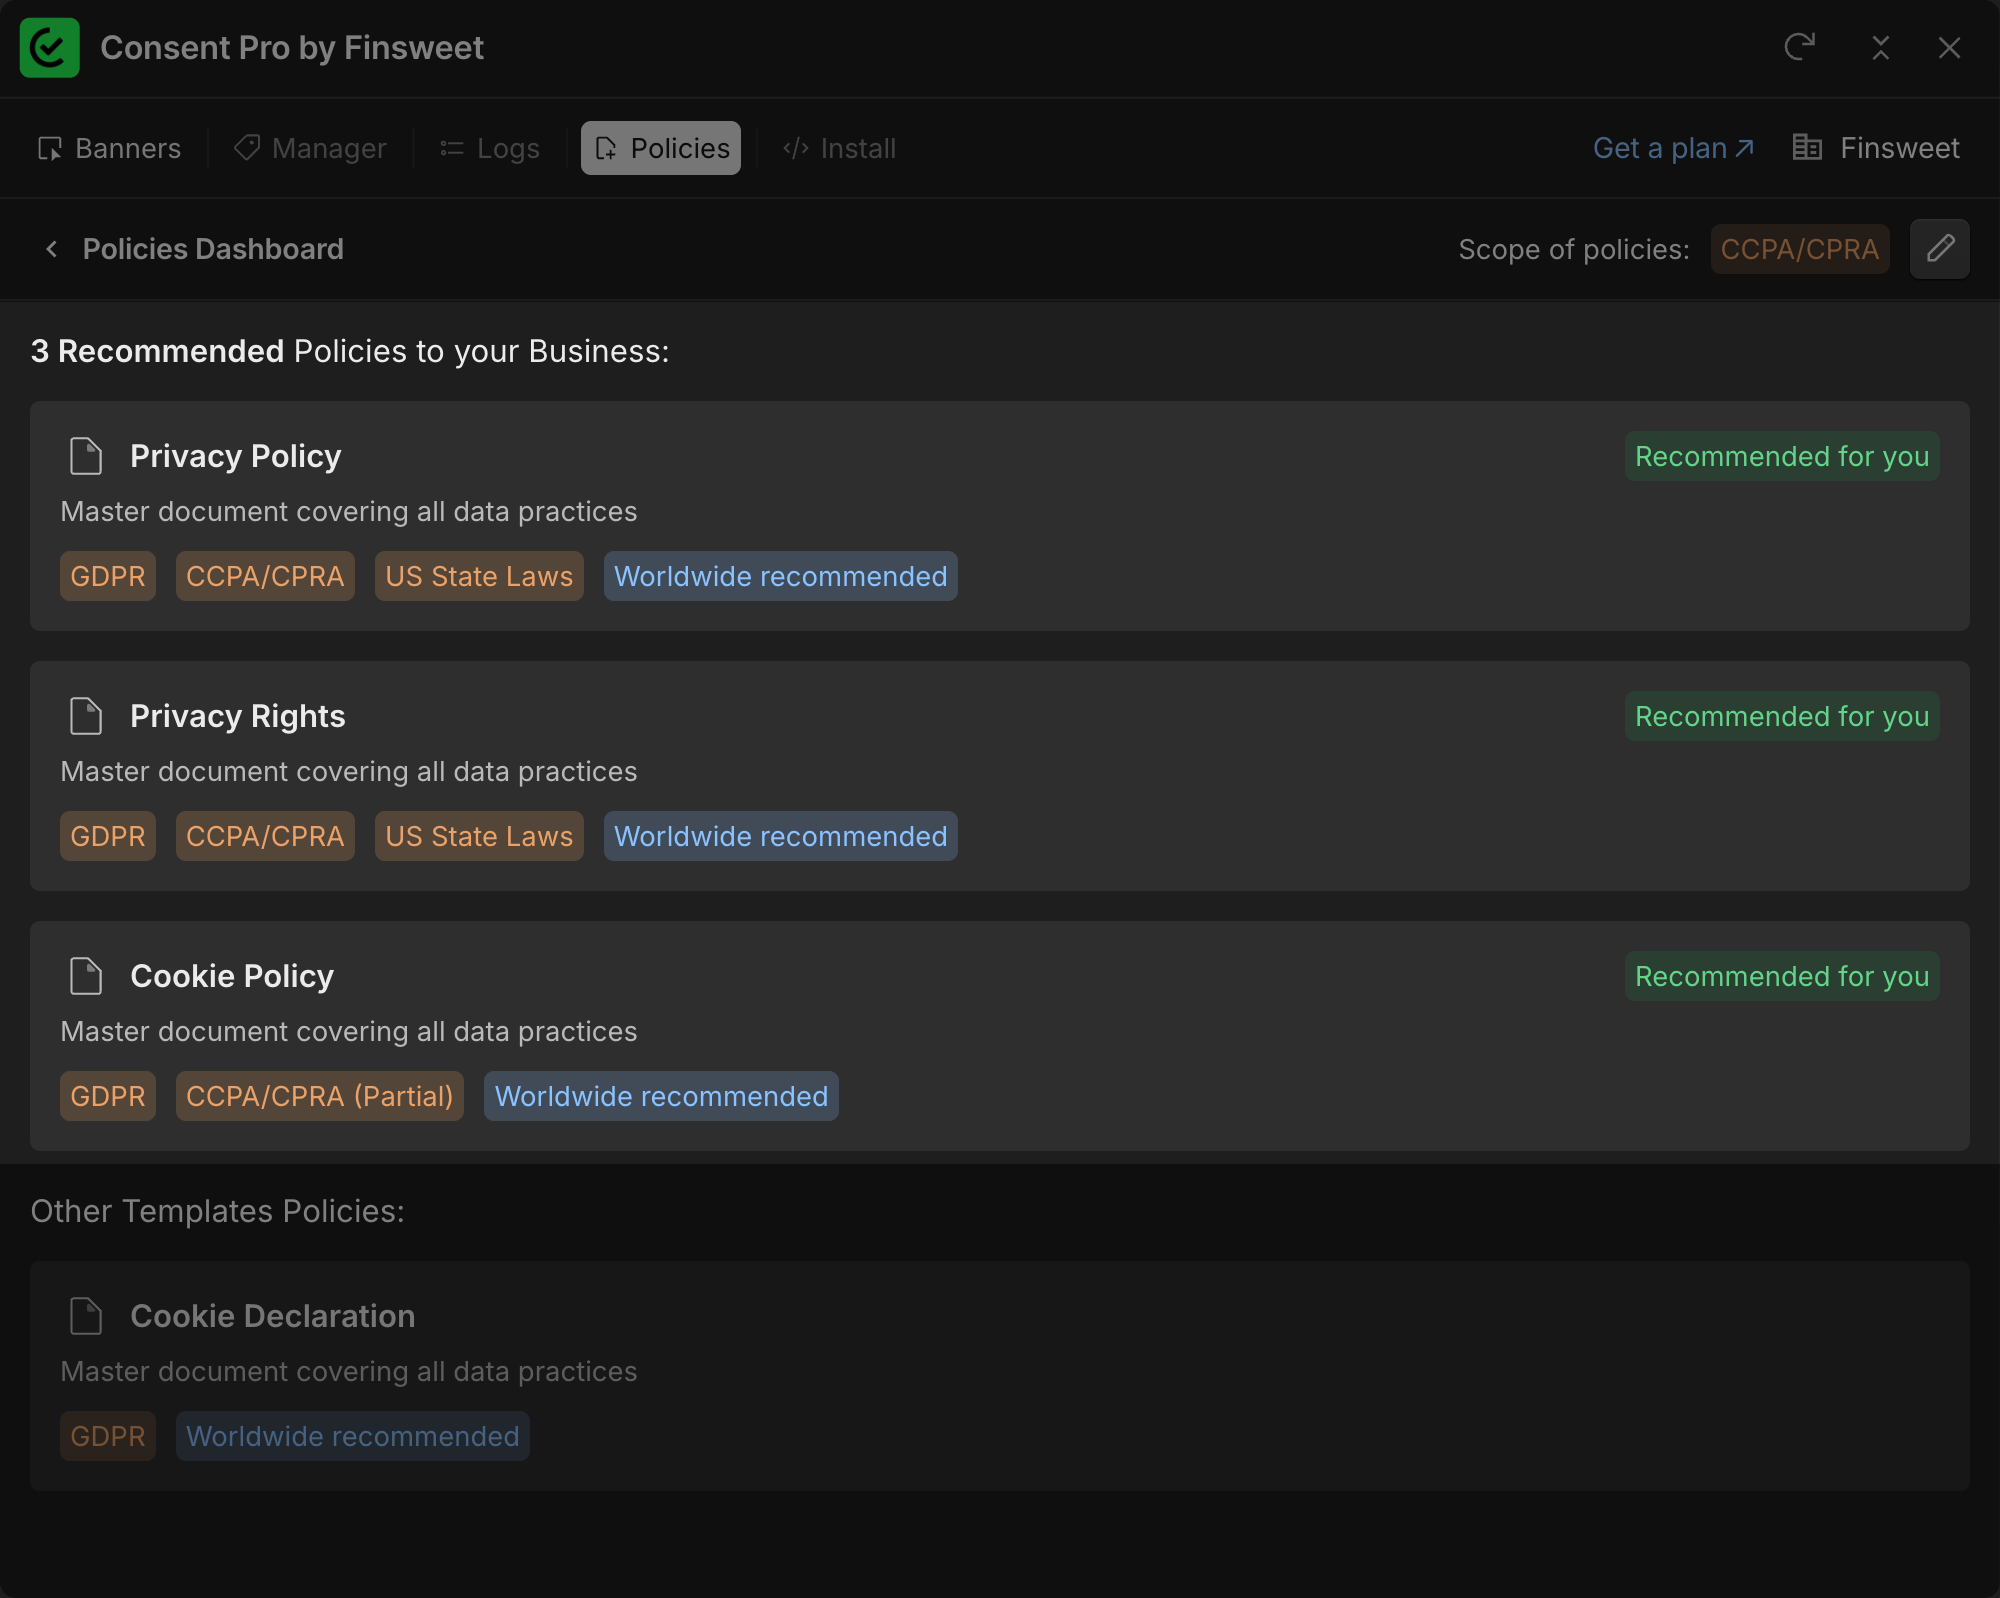
You will see which policies are recommended for your case and which are optional.
4) Generate the Privacy Policy
Start with the Privacy Policy, since it usually covers the broadest scope.
You will be guided through steps such as:
- Confirming basic information
- Selecting your data collection categories
- Defining whether you share data with third parties
- Setting your data retention period
- Choosing the Webflow page where the policy will be published
The page selector works similarly to Webflow. You can create a new page or choose an existing one. 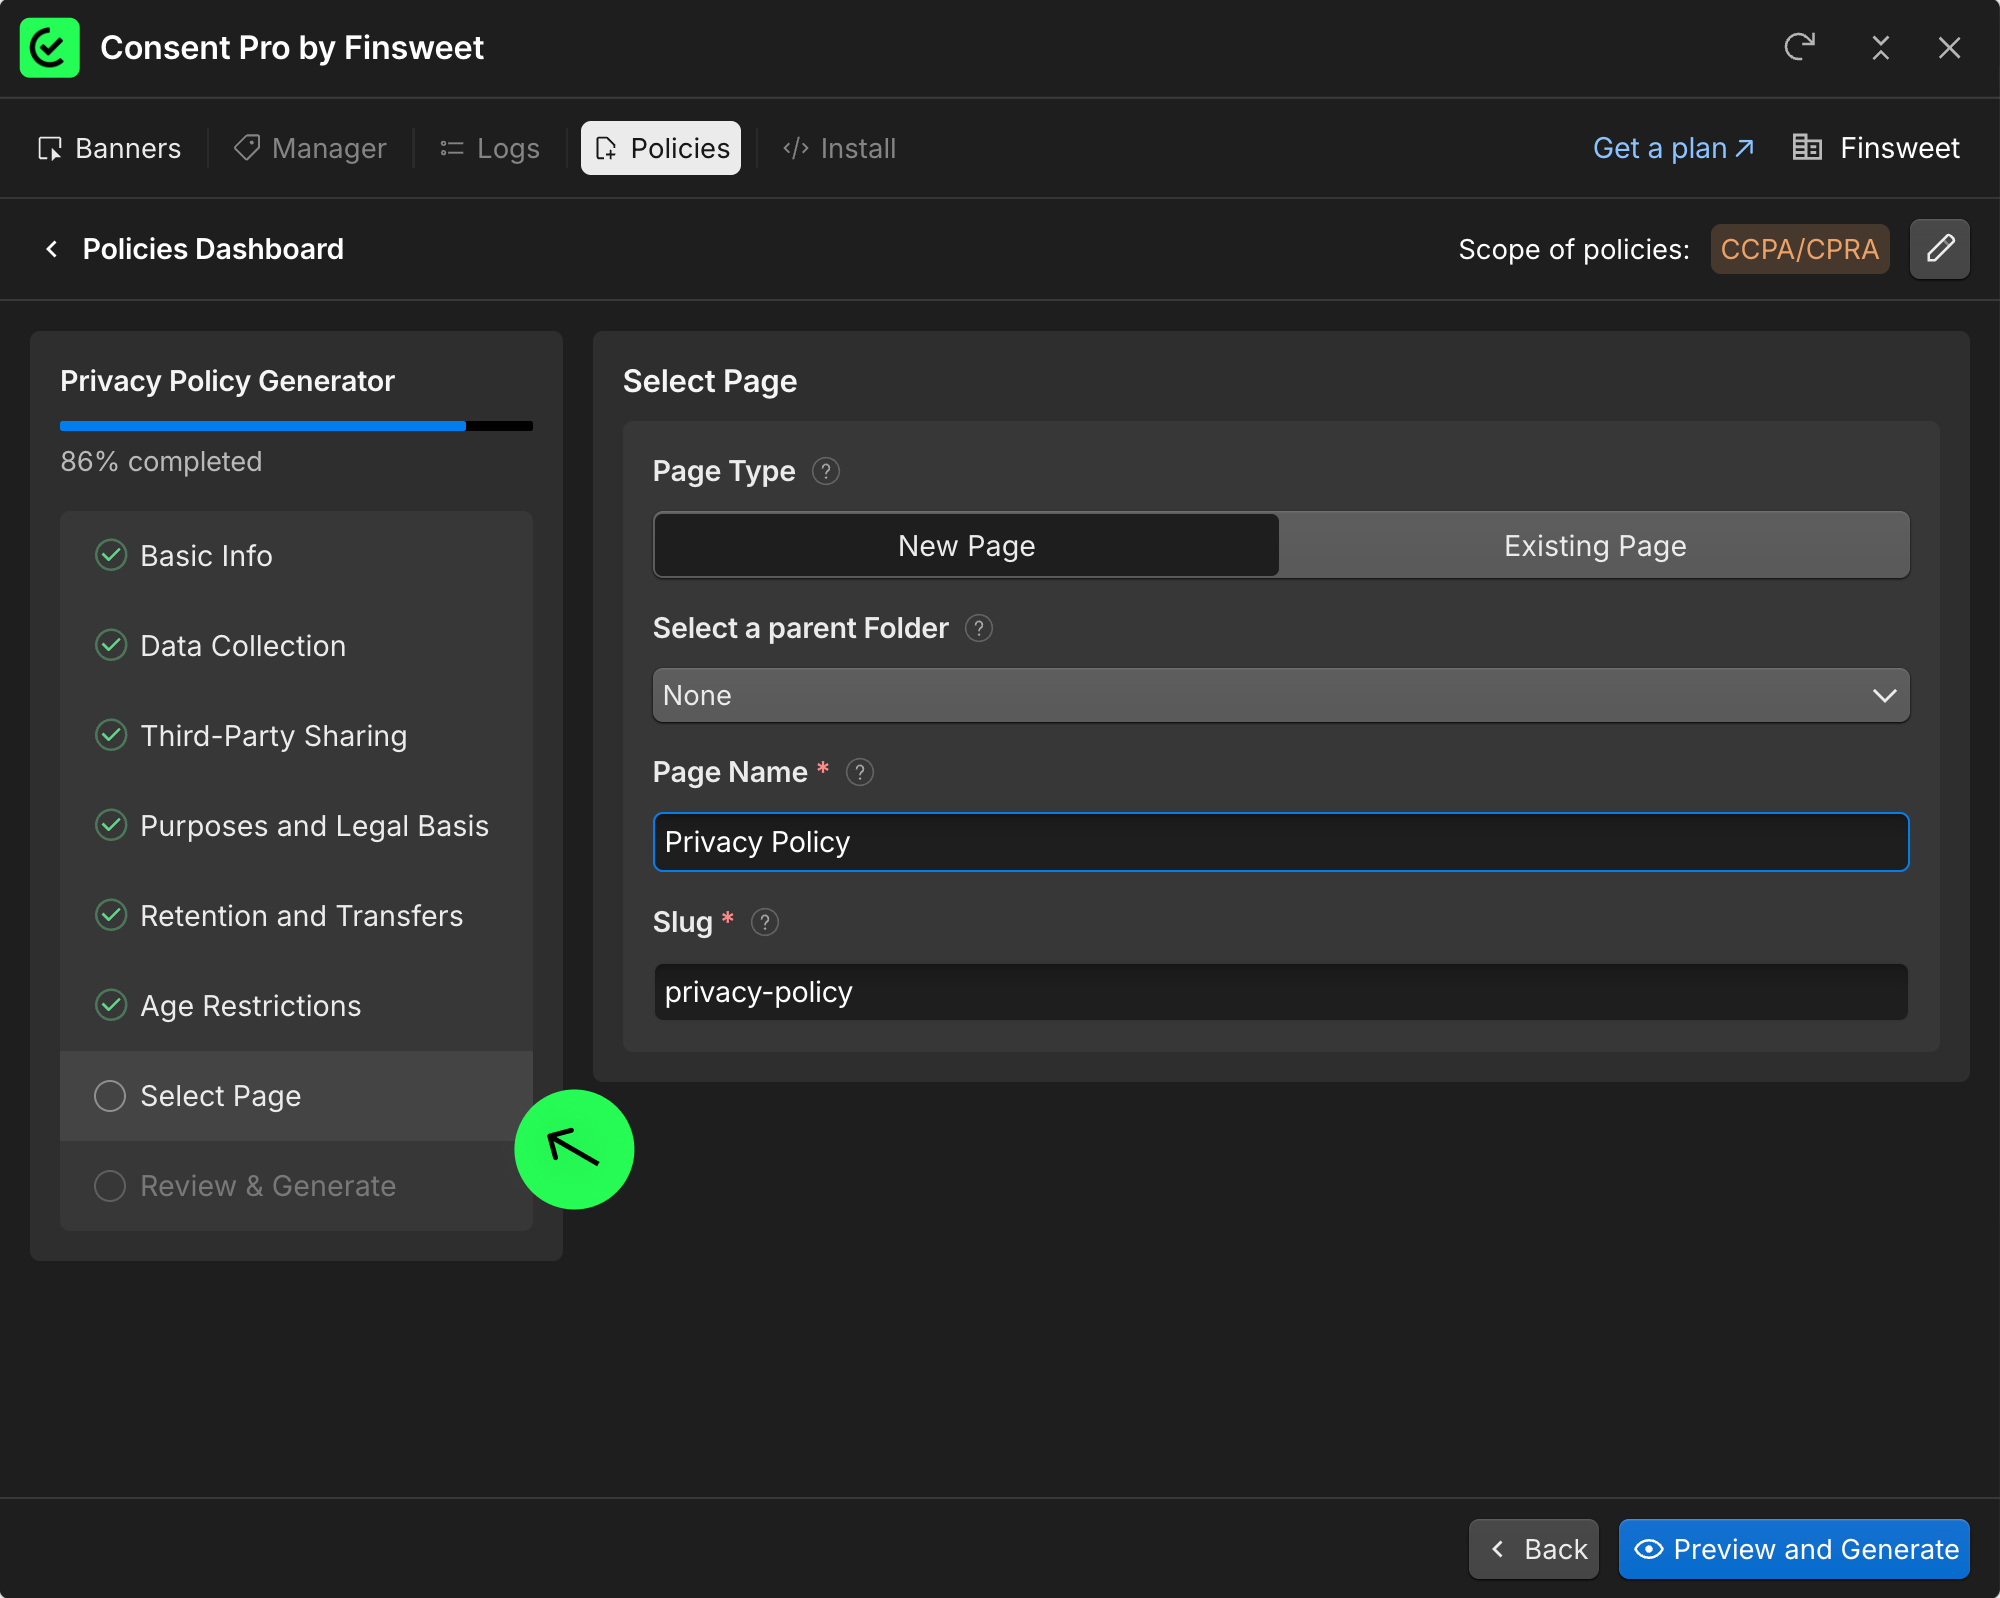
5) Preview and create policy
Before generating, Consent Pro shows a full preview of the document. Review it carefully.
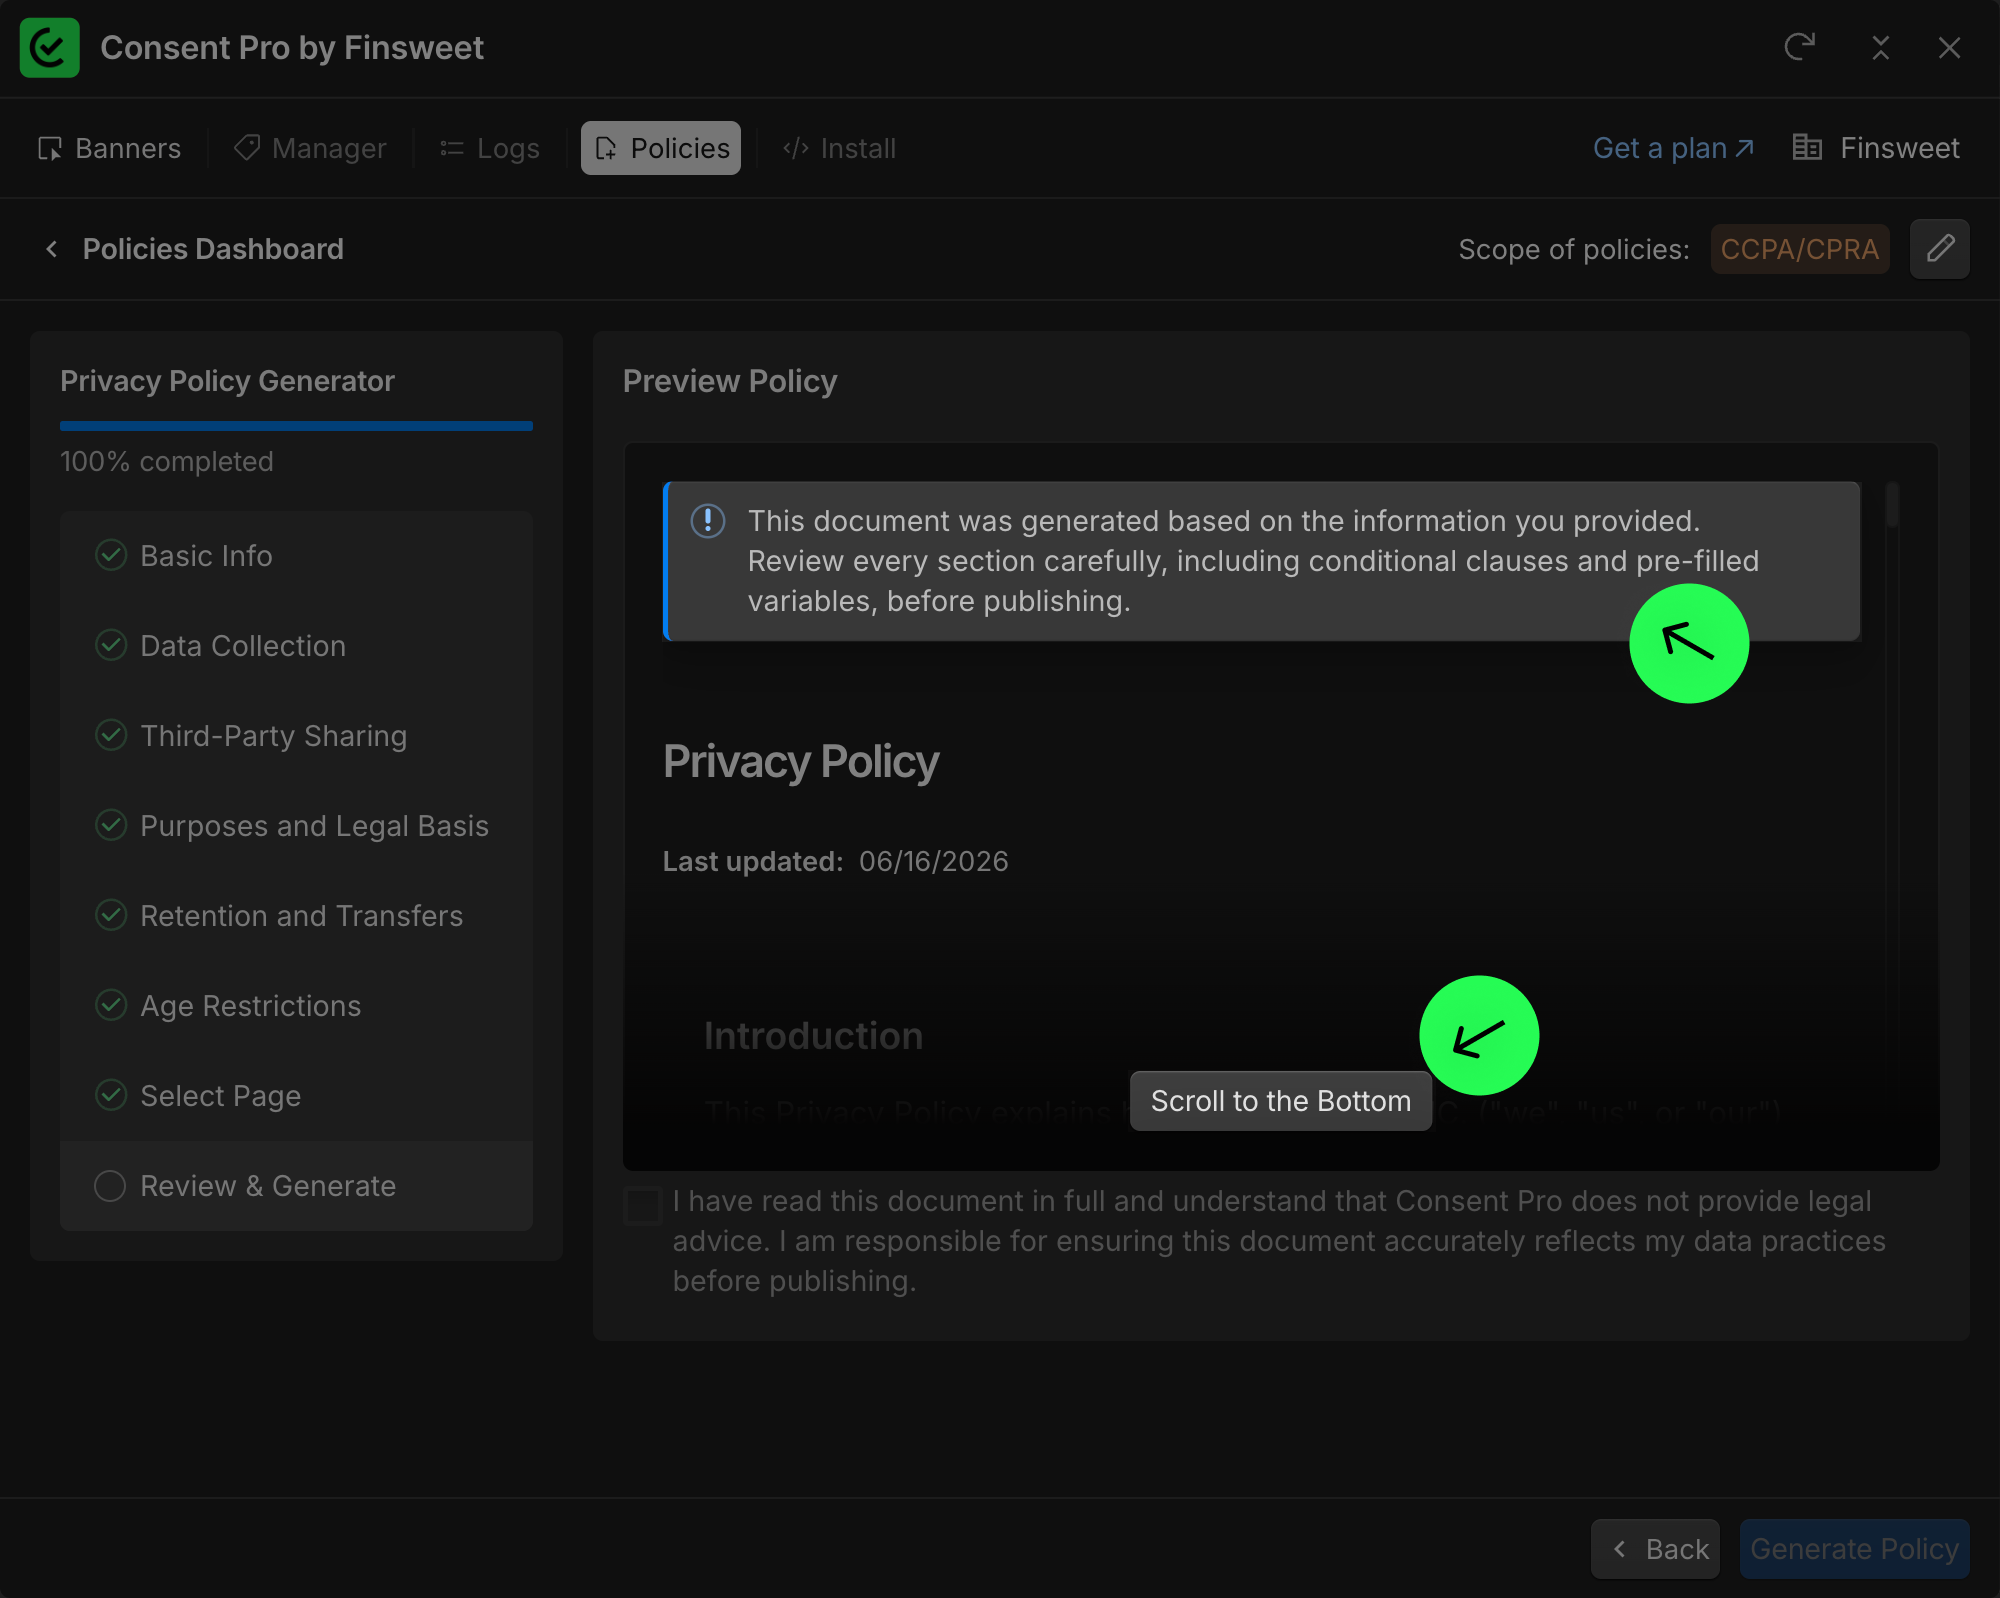
To continue, you must confirm that:
- You read the document in full
- You understand that Consent Pro does not provide legal advice
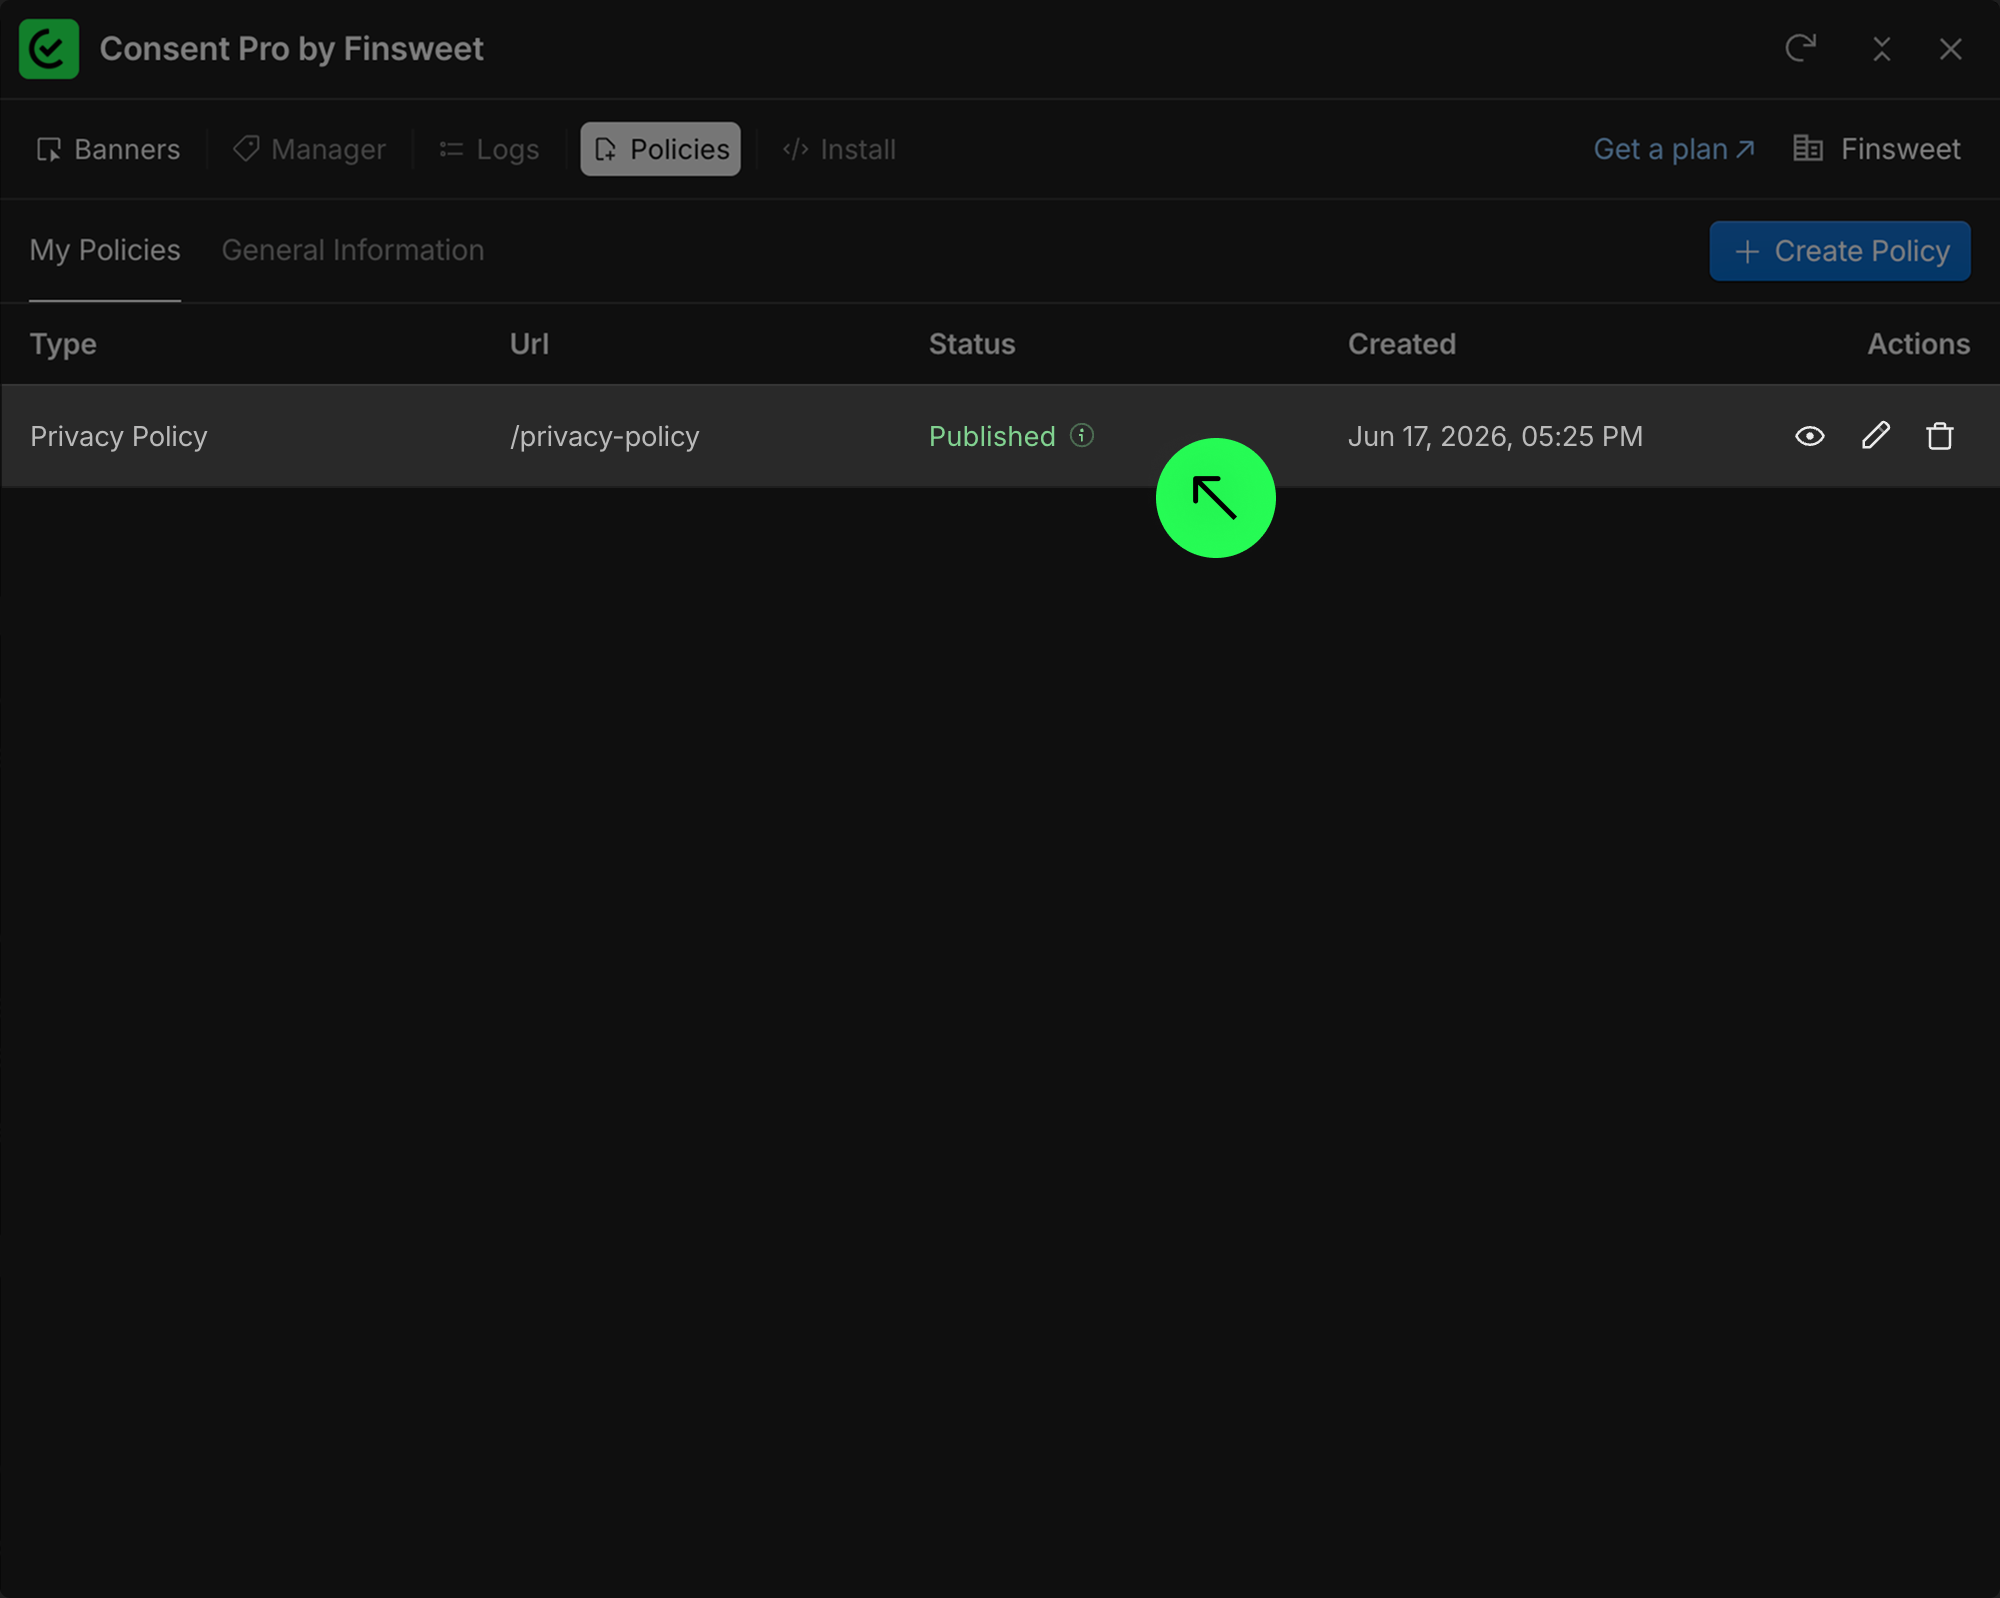
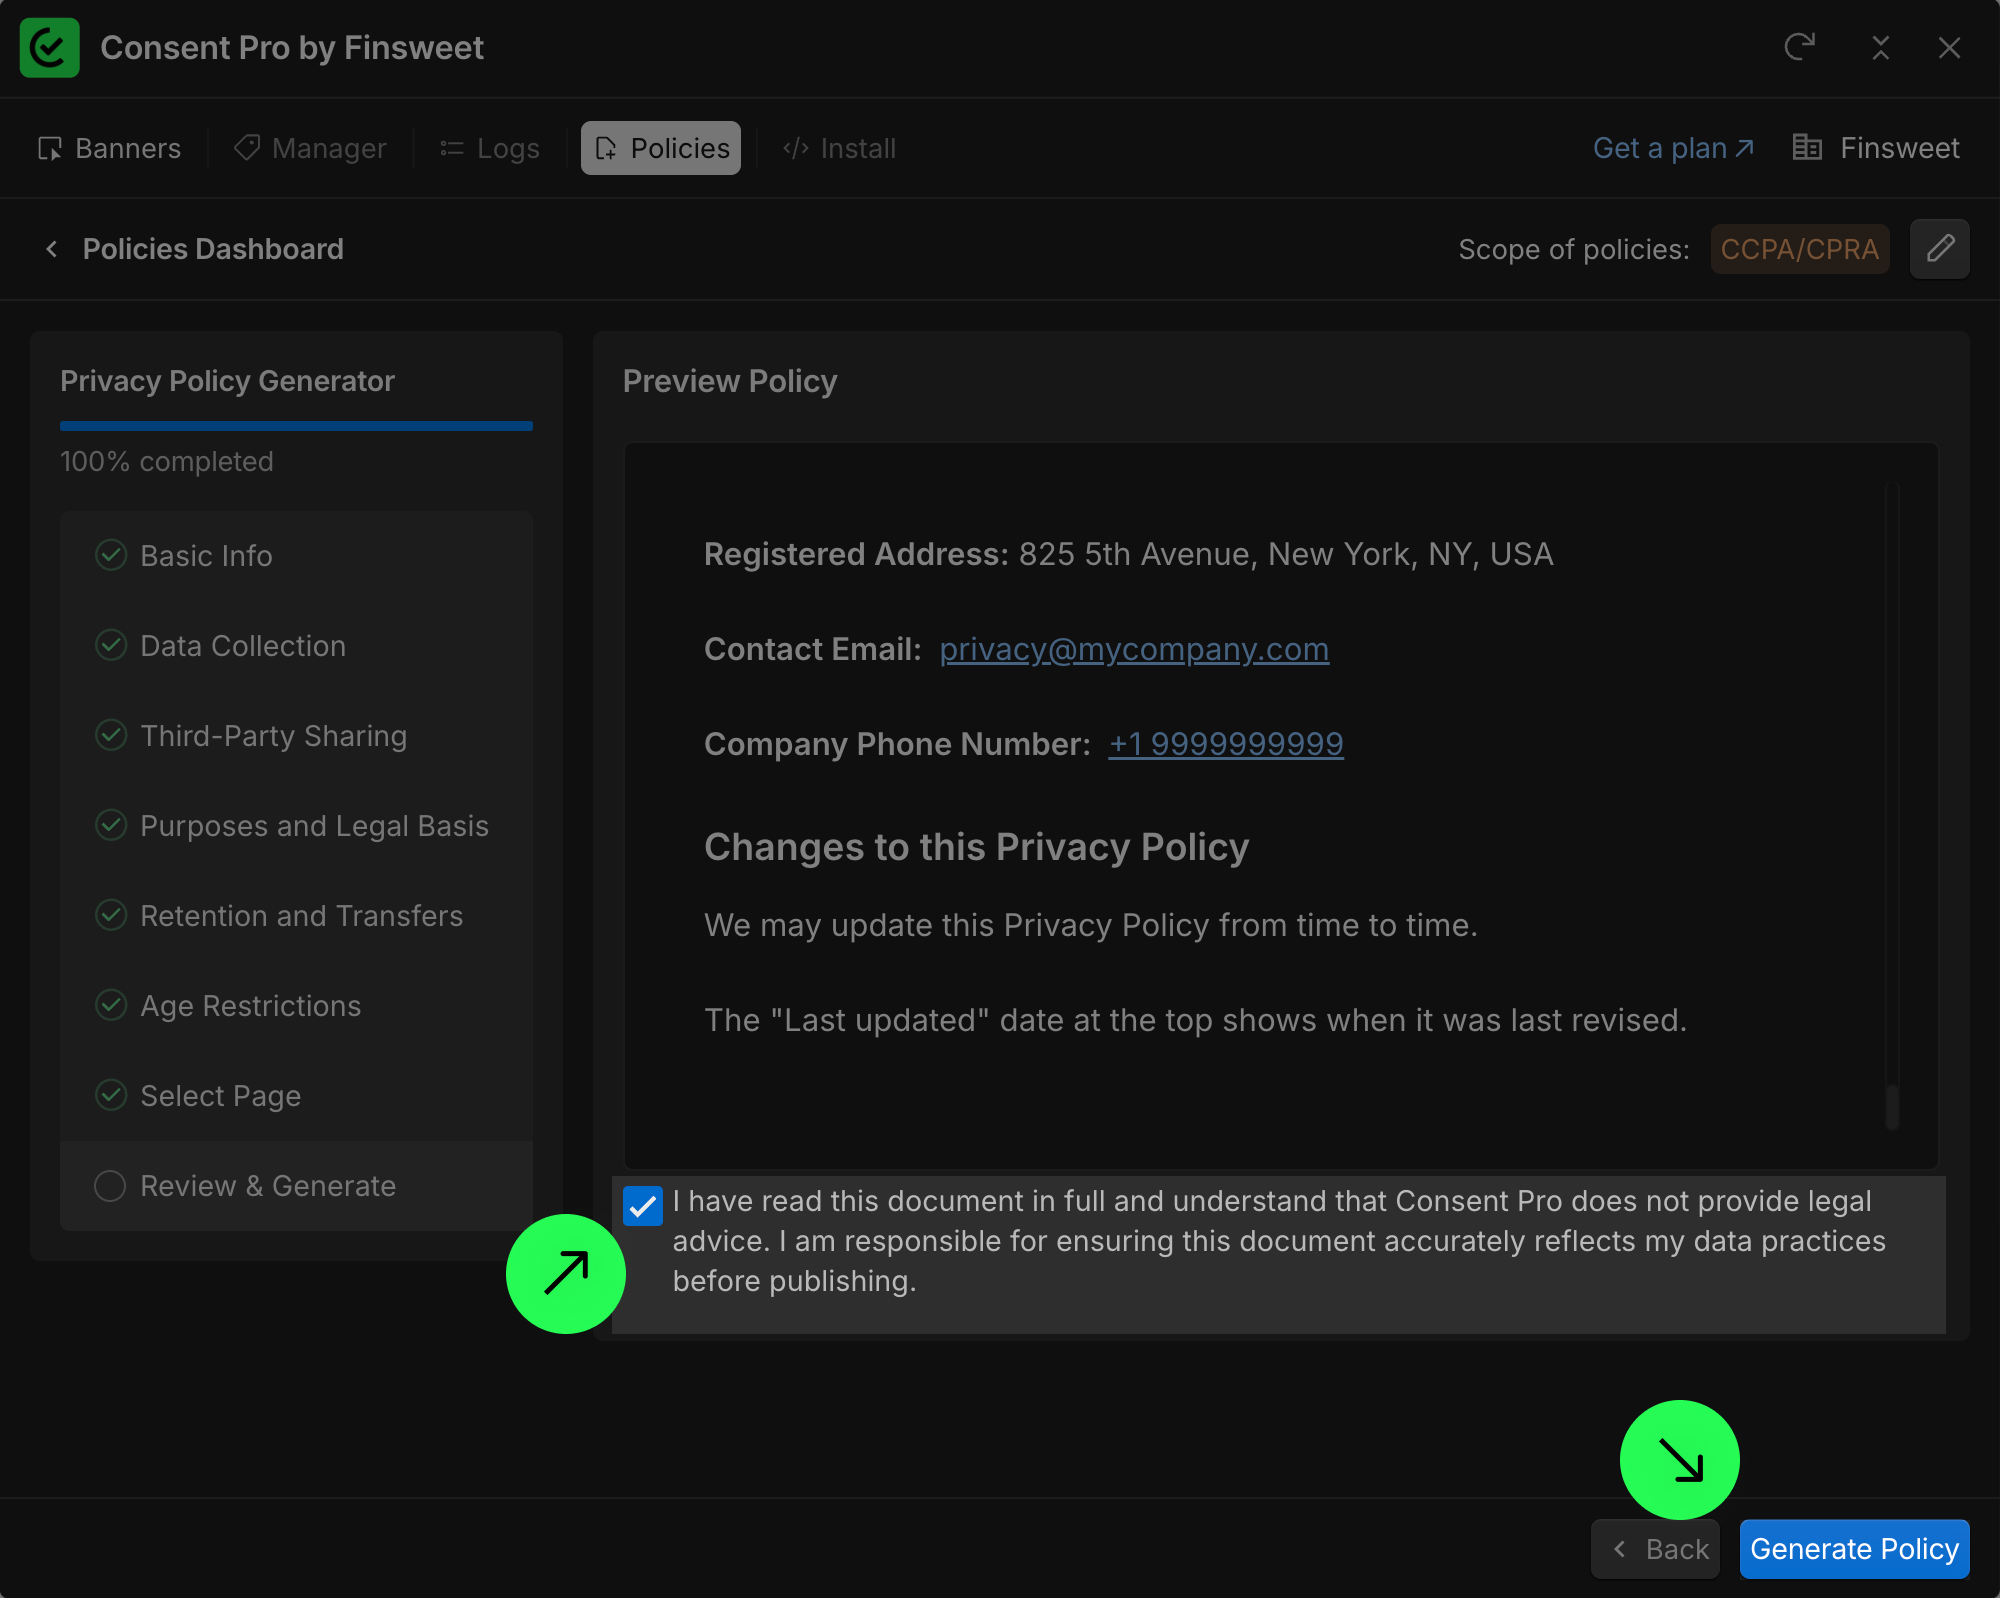 Once you click Create Policy, the document is generated and its status changes to Ready to Publish.
6) Publish in Webflow
After the policy is generated, publish your Webflow project. The policy will then go live on your site. 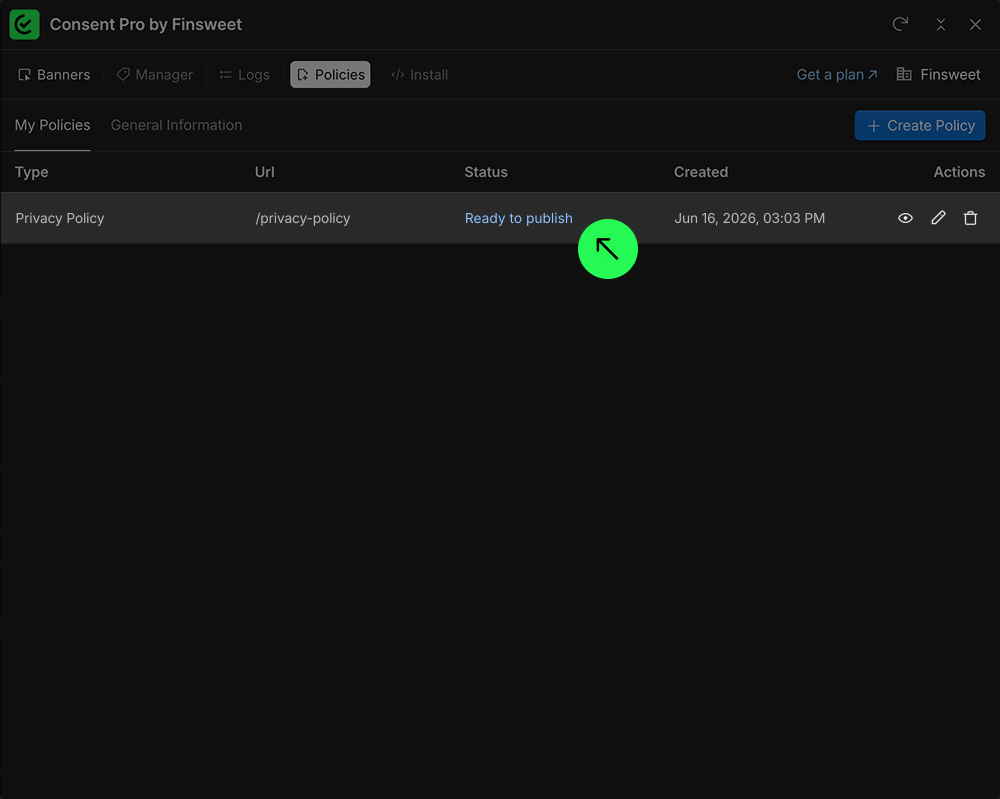
Extending to multiple frameworks
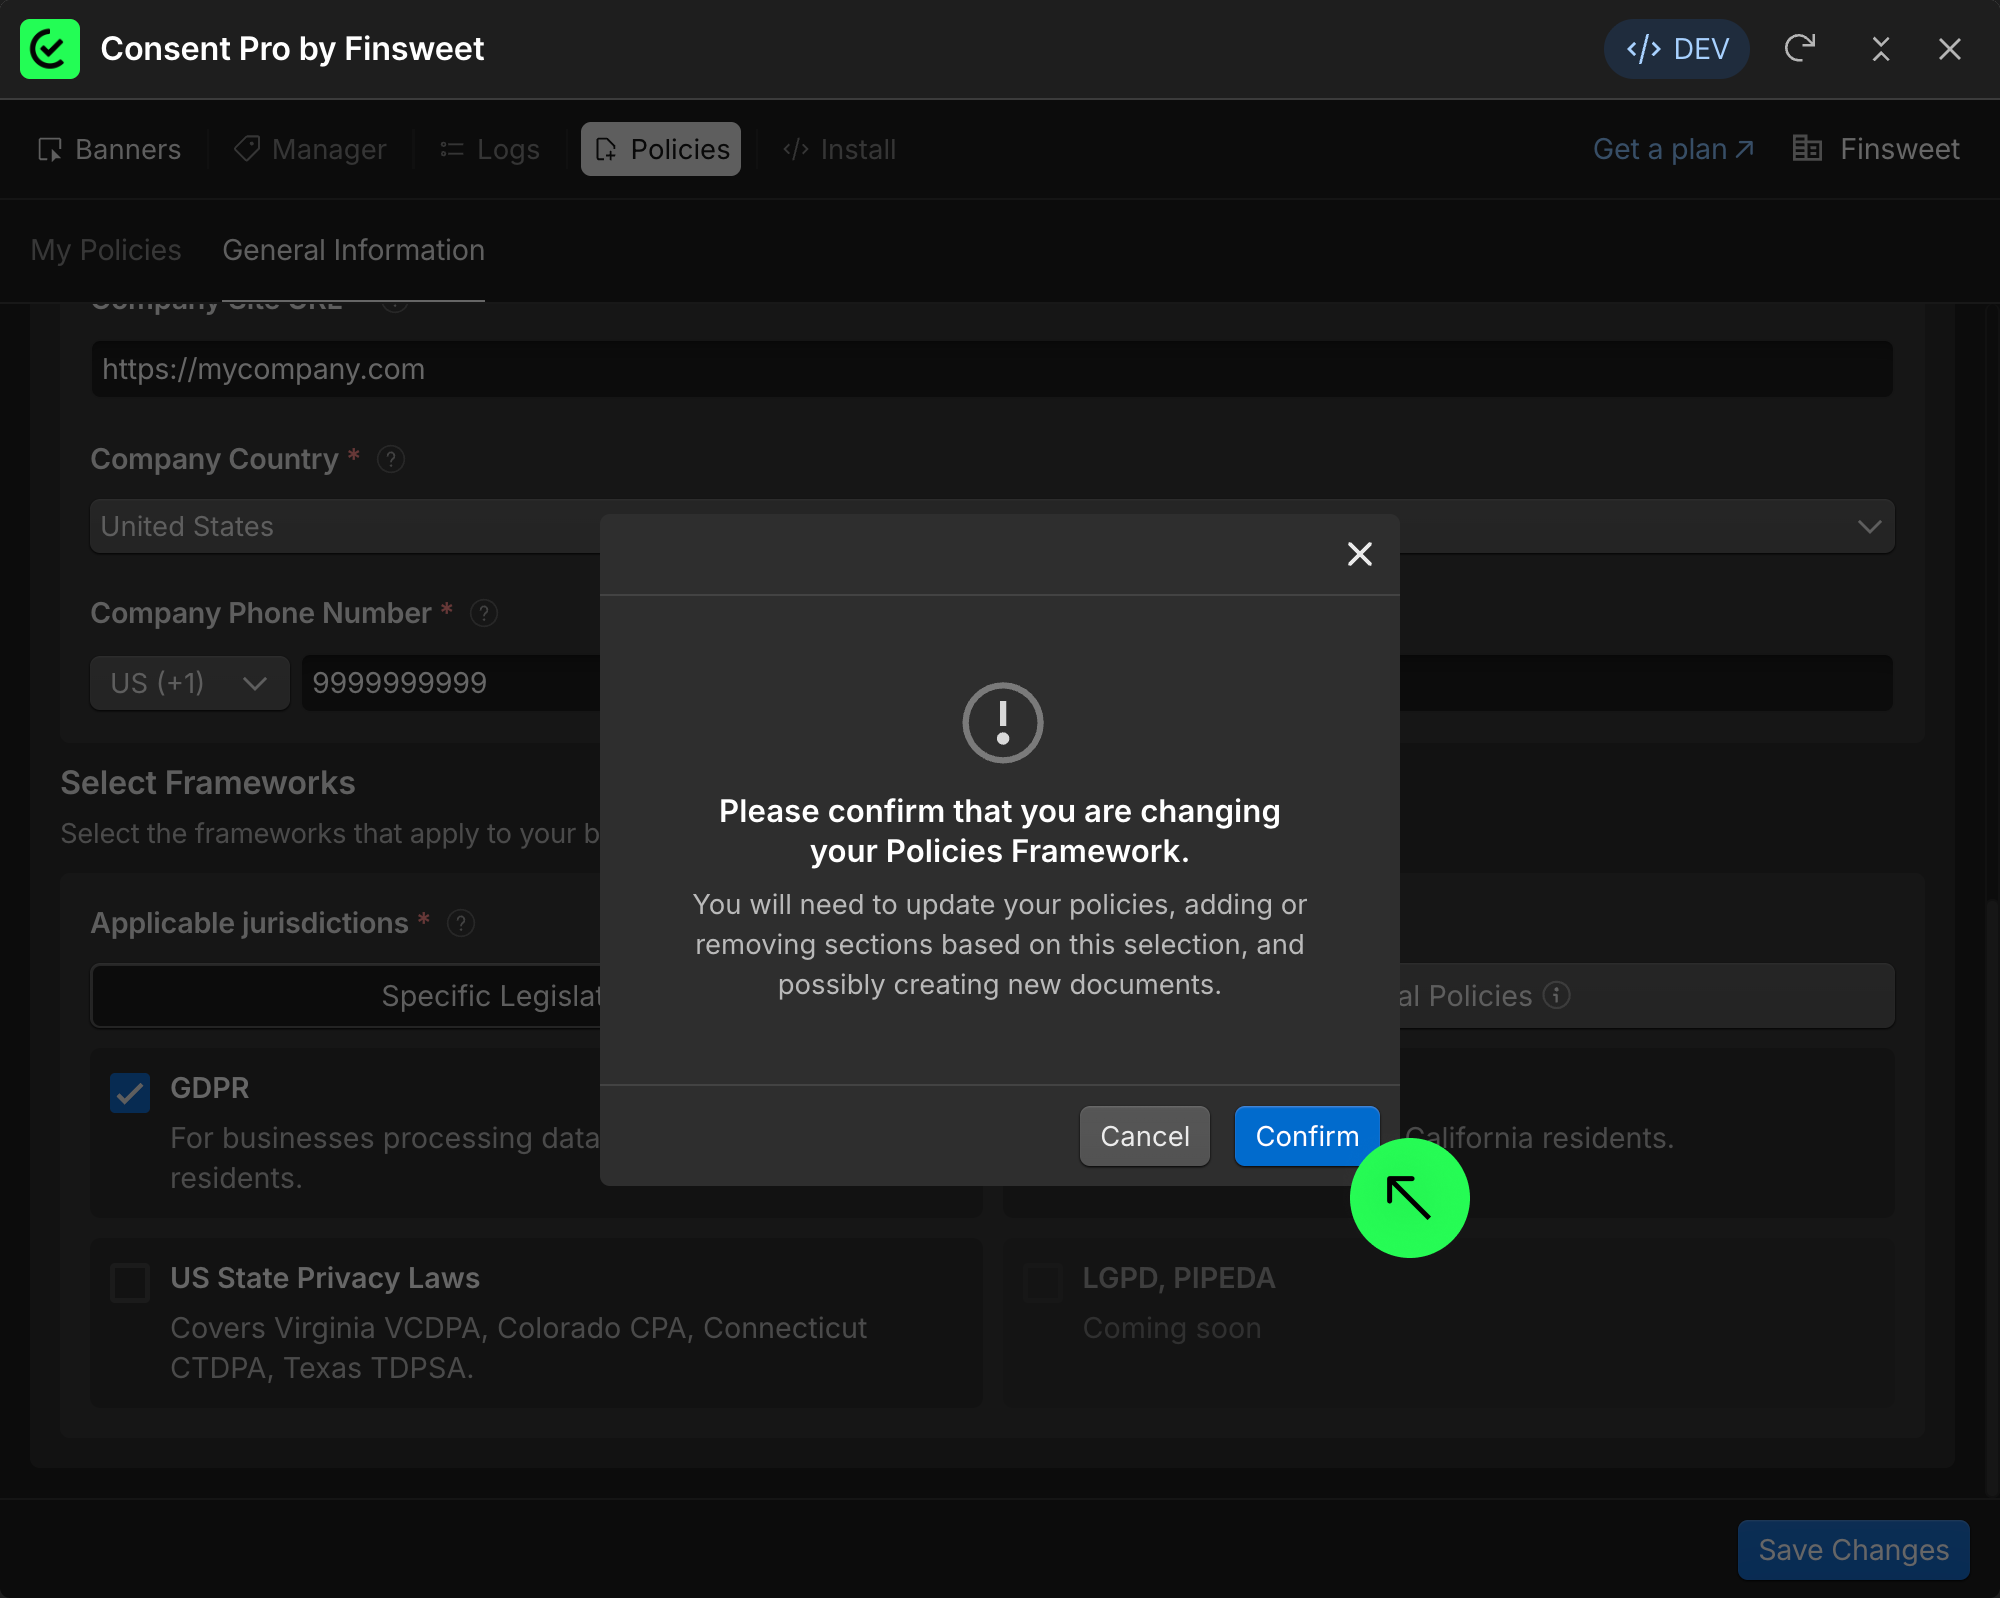
If your business must comply with more than one legislation, you can add an additional framework at any time.
For example, if you add GDPR on top of CCPA: 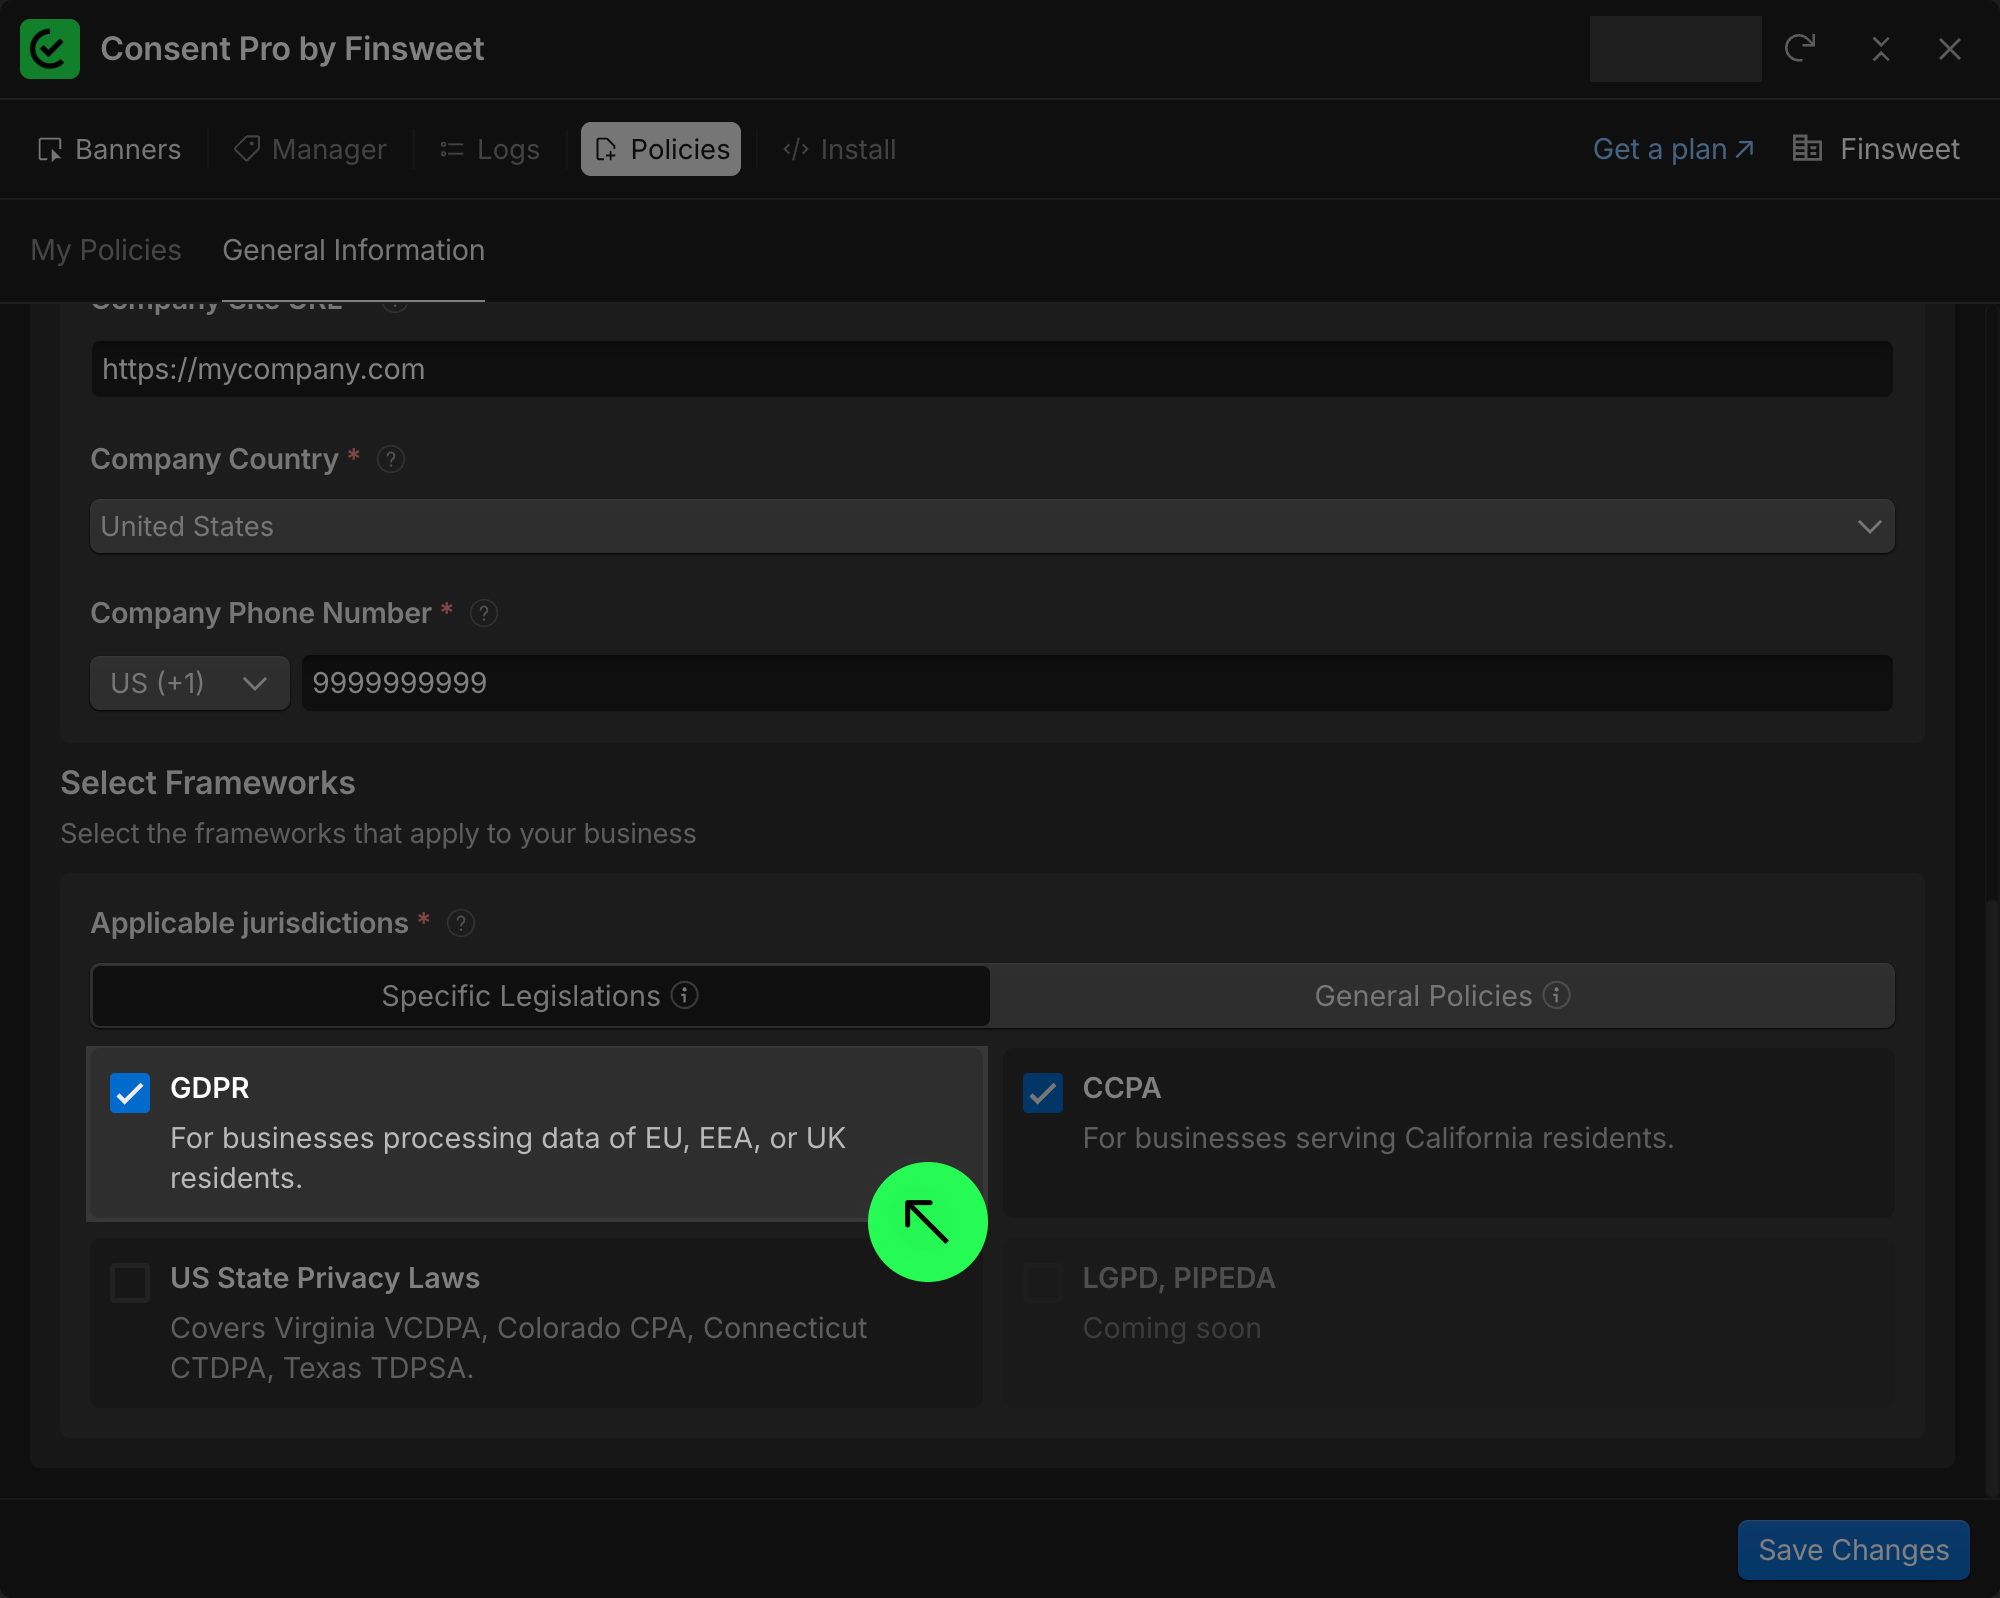
- Confirm the framework update.
- The document status changes to Update Needed.

- A new GDPR tab appears with additional required fields.
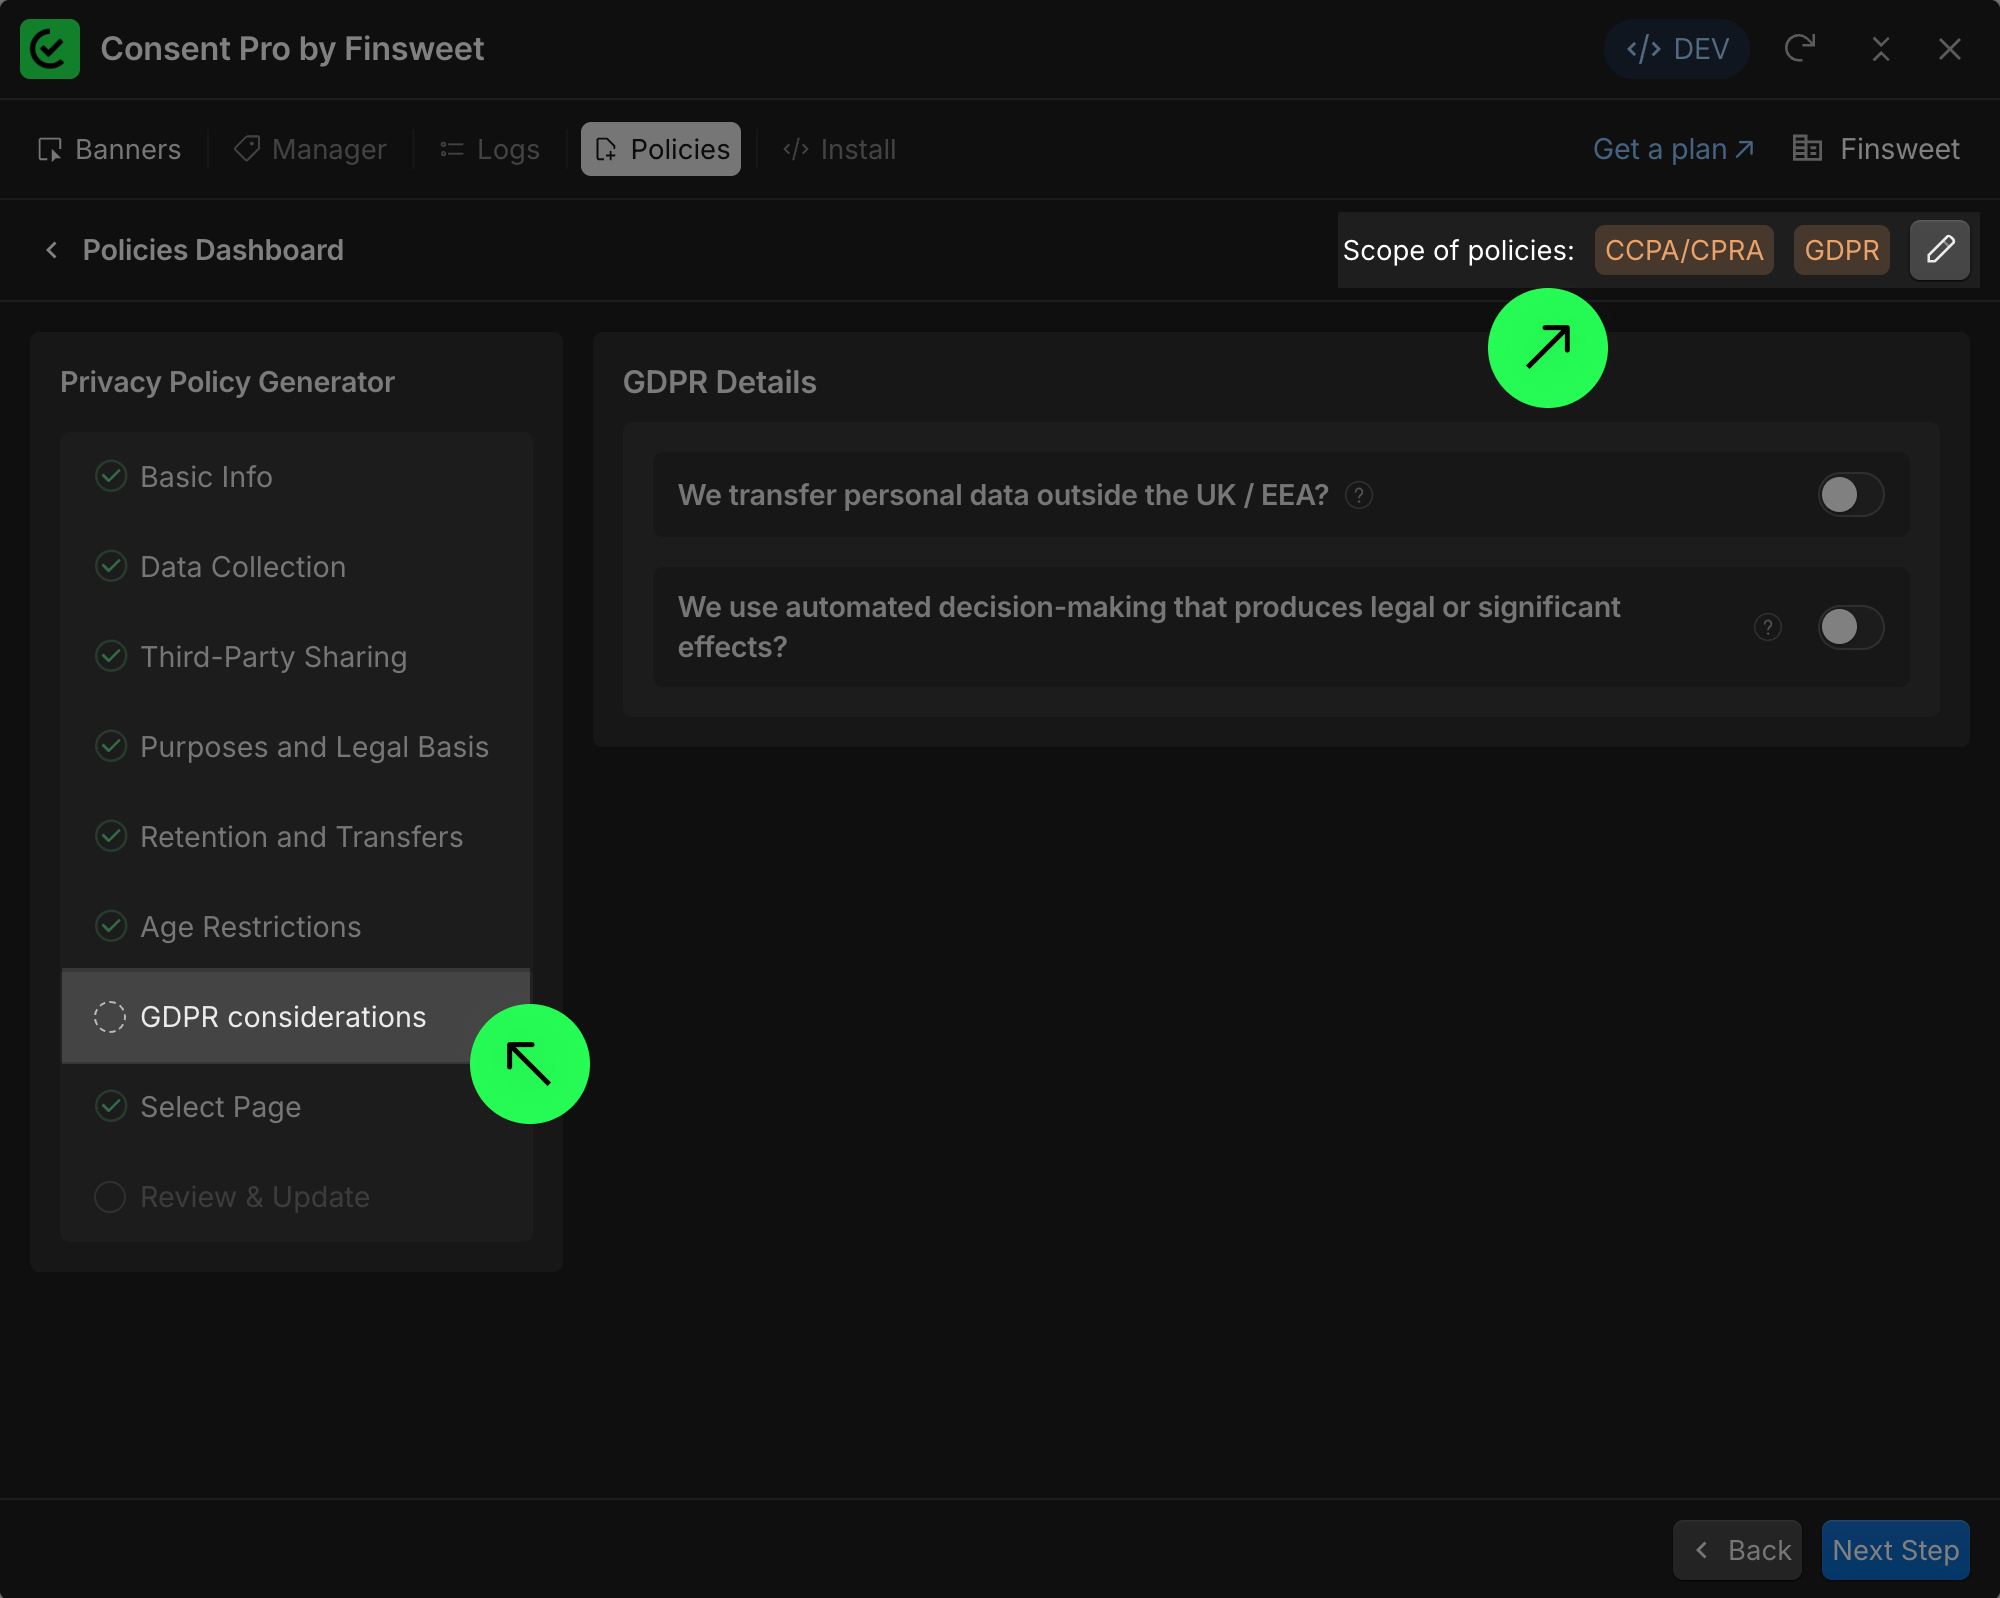
- Fill and review those fields.
- Regenerate the document.
- Publish again.
After republishing, your policy coverage includes both frameworks.
Other policies
To create the remaining policies, the process is the same as shown above:
- Complete the necessary fields
- Review and generate document
- Publish your project
What happens if you update your company information
When you edit your company's General Information after policies have been generated, any affected policies will show an update prompt in the status column. Review and confirm the updates to keep your policies in sync with your current information.
Legal reminder
The Policy Generator provides a strong starting template, but you are responsible for ensuring the final content accurately reflects your data practices before publishing.